Point & Press
February 13th, 2016 by ishback“Today I’ve used my phone to check how long until the bus arrived at my stop. I’ve also used my phone to control the volume of my speakers at home, to learn more about a restaurant before getting inside, and to send a photo I took with my friend to his phone, next to mine.”
Most of these interactions require unlocking the phone, finding an app, and performing an action. They’re all end-to-end digital interactions, despite that what we want to interact with are things we can touch and see, things we can point at: “I want to interact with *this* thing”.
What if we pointed our phones at those things?
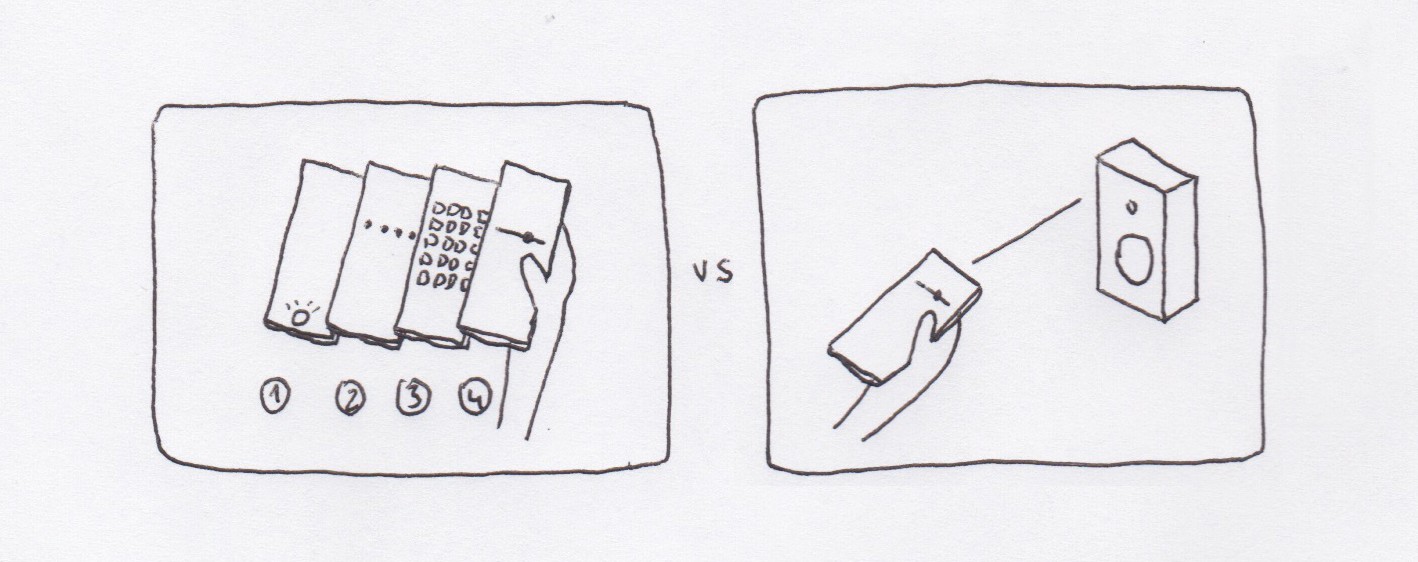
As phones get better at understanding their position and orientation in relation to their surroundings, we may be able to interact with our surroundings in a more intuitive and natural way.
Notes:
- Most of these interactions don’t deal with sensitive information and shouldn’t require user identification.
- You could discover new features / apps by pointing at objects / places.
- With the use of haptic feedback some of these interactions may not even require you to look at the screen.
- Pointing with your phone at other devices may offer different options based on the relationship between the owners: pointing at my computer vs. pointing at a friend’s phone vs. pointing at a stranger’s phone.
Another video sketch I did a few years ago on a similar topic: Spatially Aware Devices
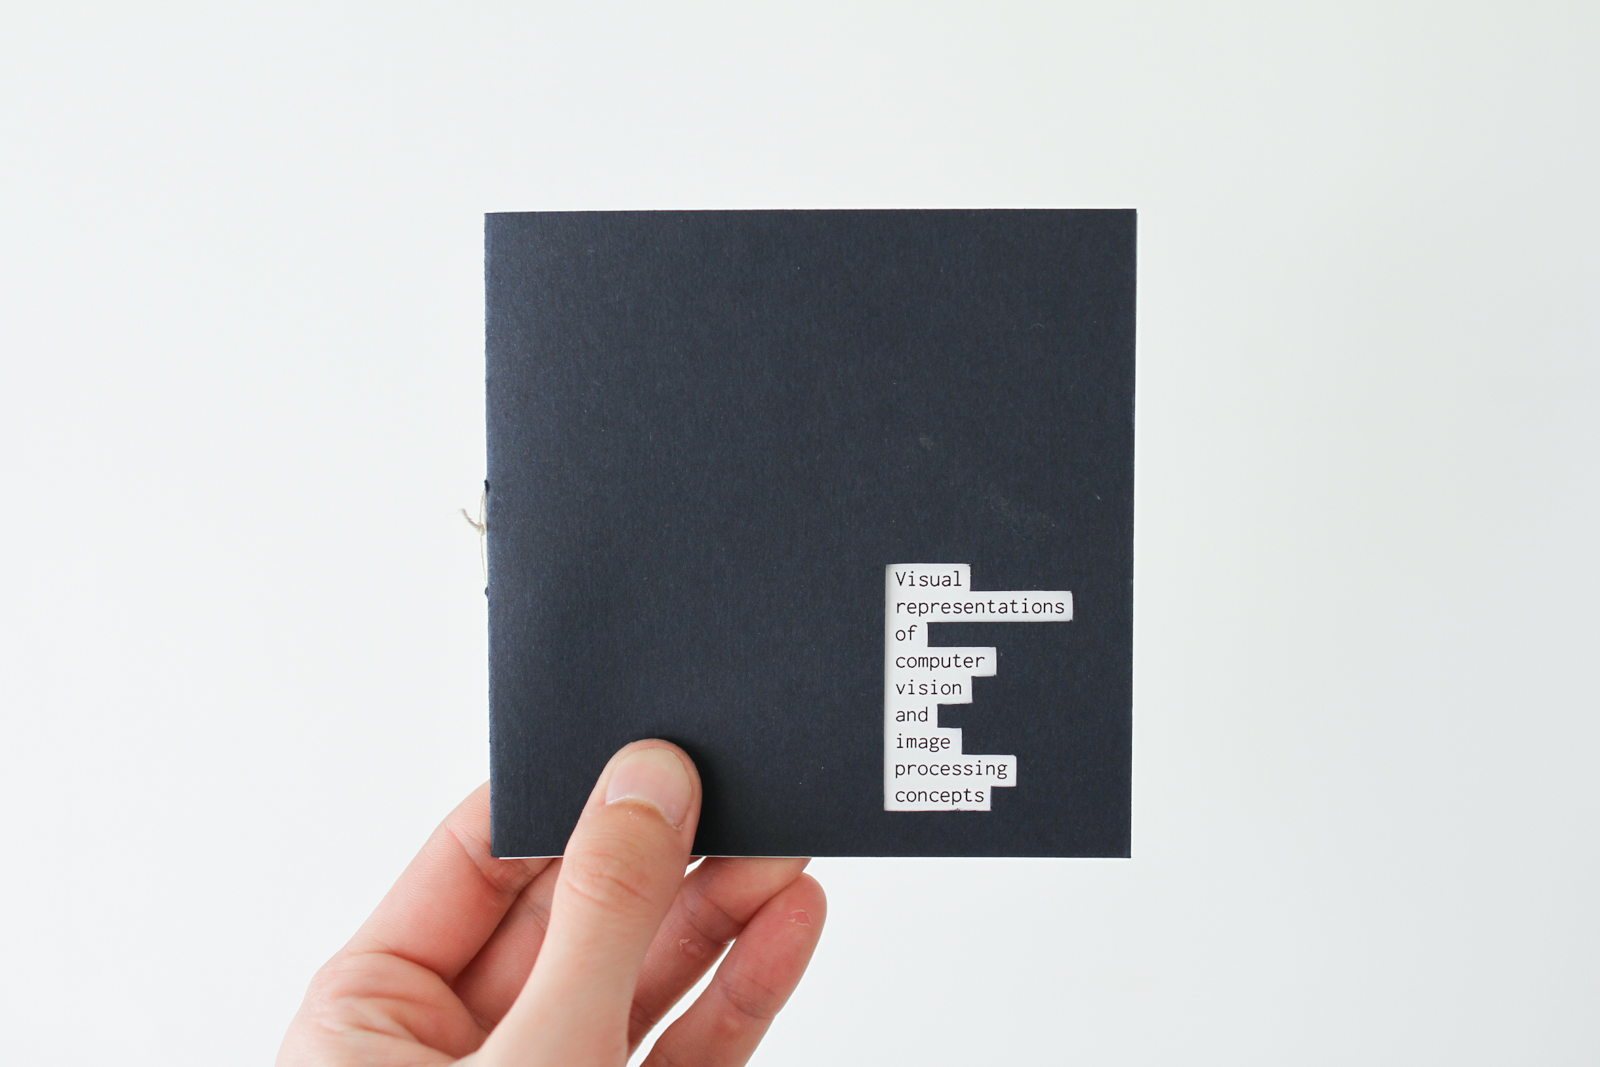
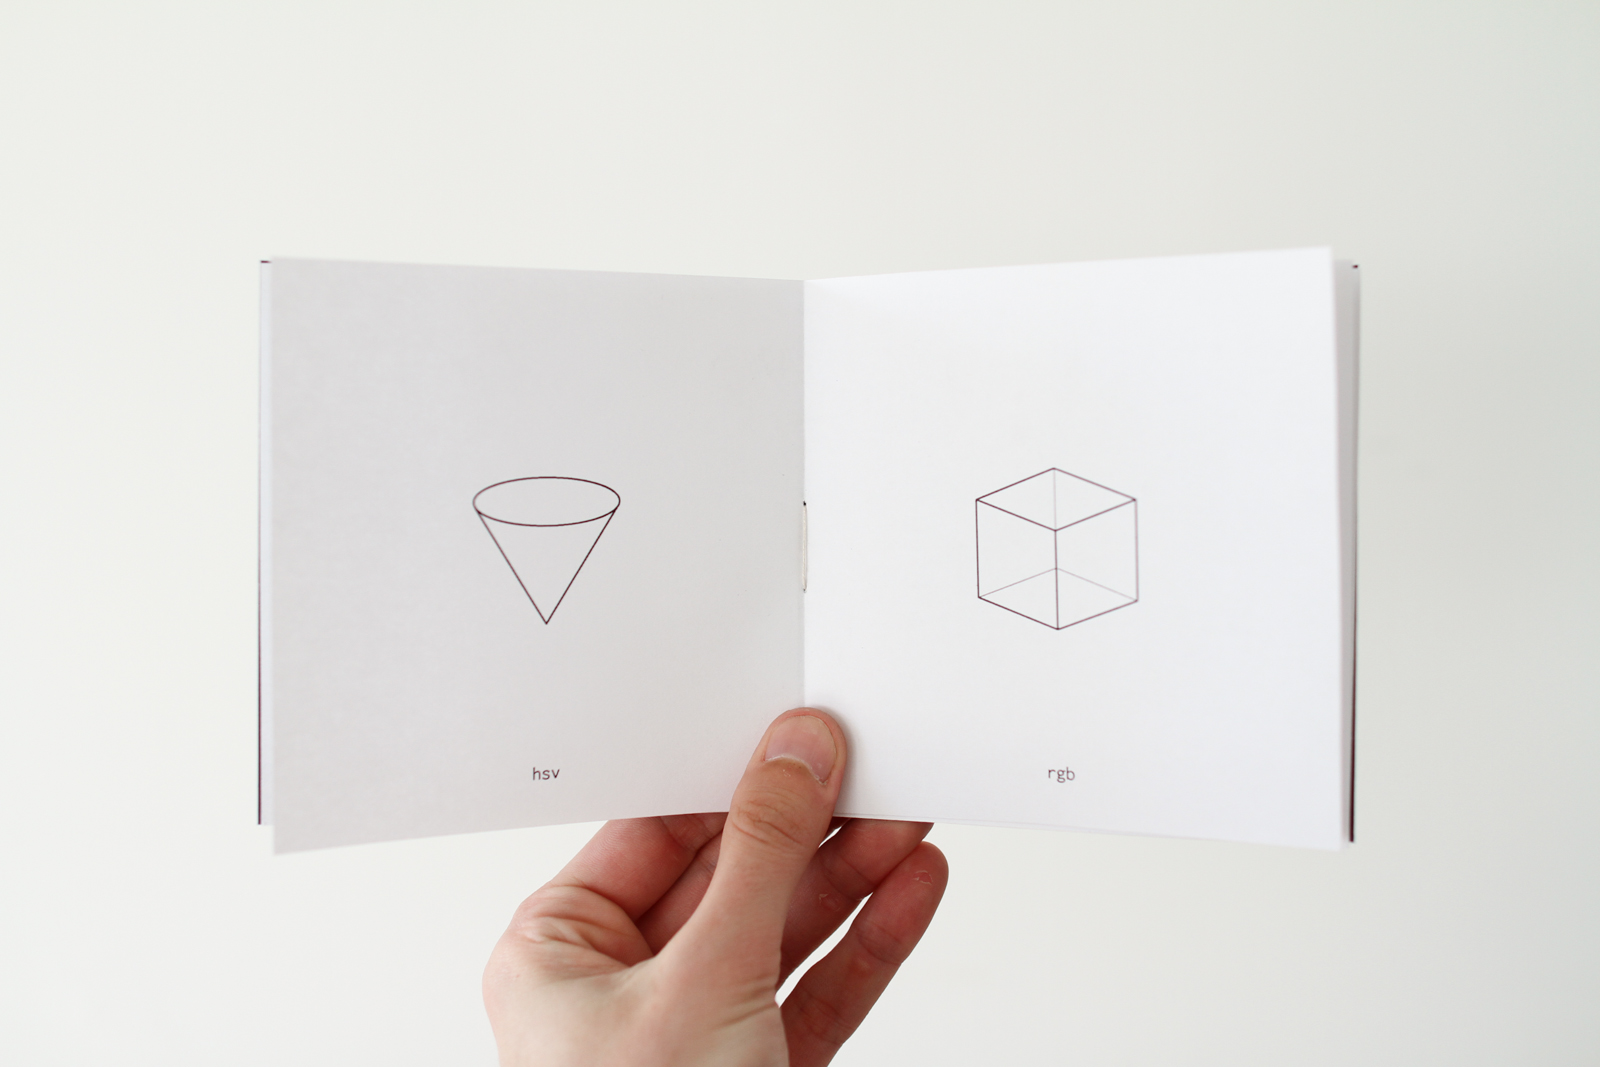
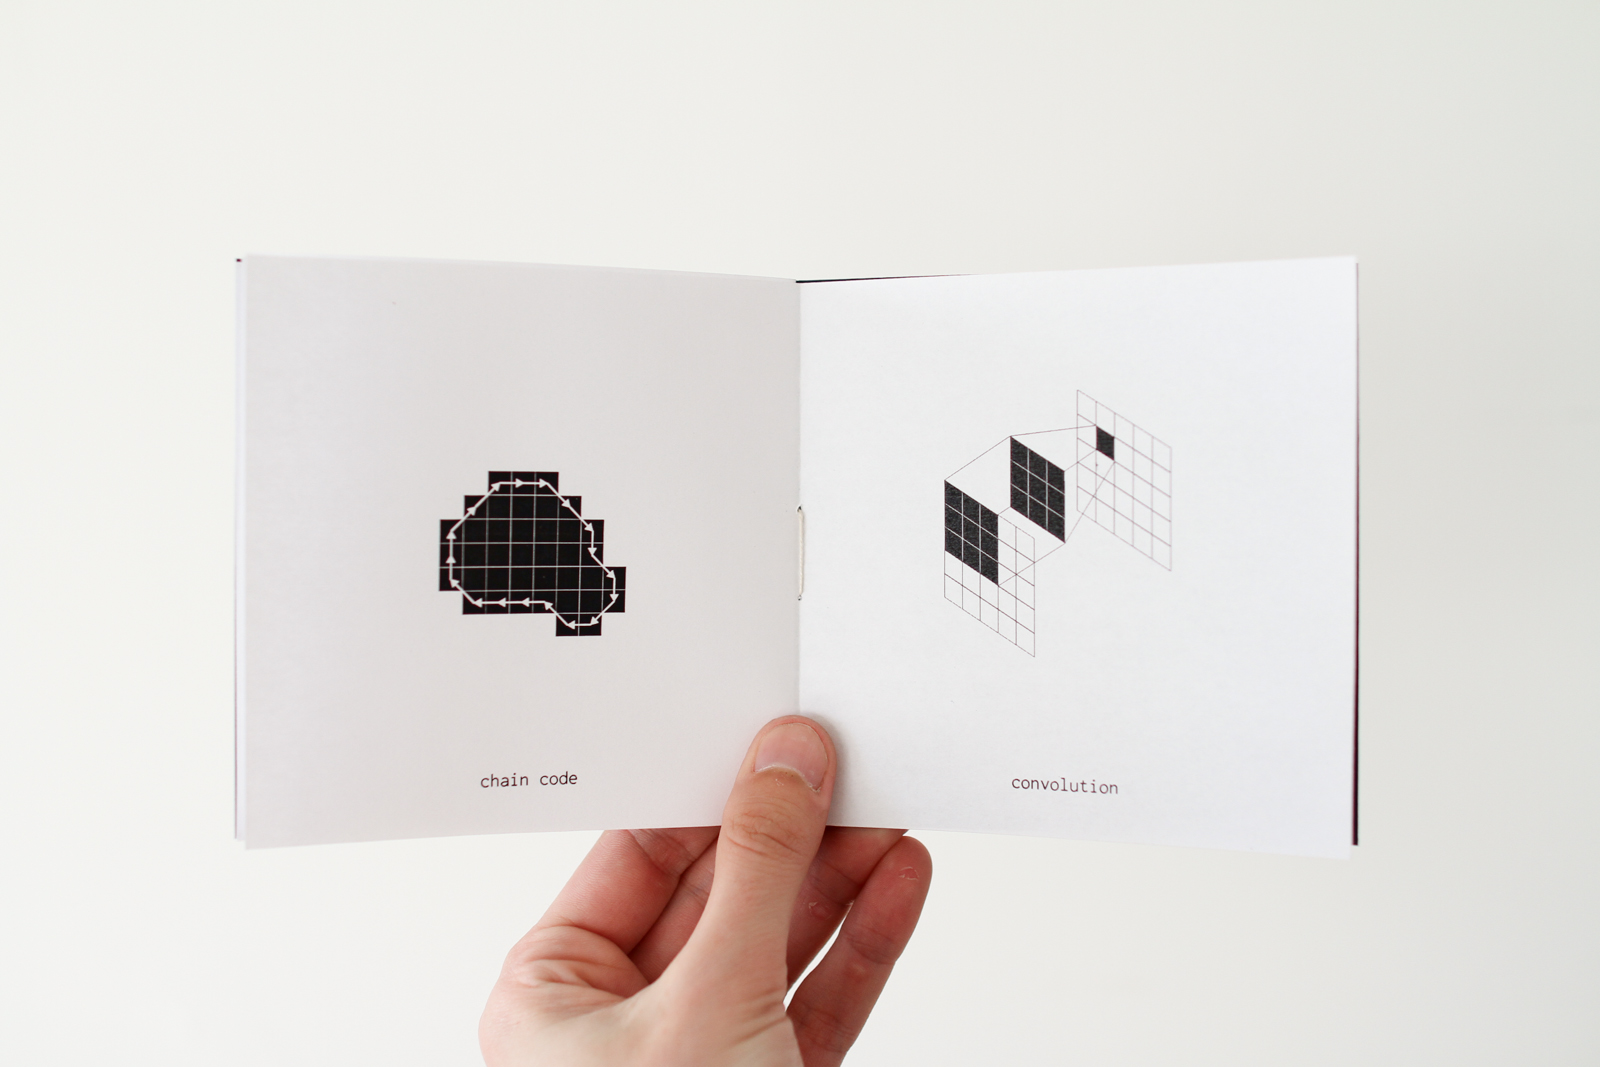
Visual representations of image computation processes
March 20th, 2015 by ishbackA project I started (and never finished) a year and a half ago at SFPC, a collection of visual representations of concepts from Zach Lieberman’s class.
Ceramics
February 23rd, 2015 by ishbackLast summer I finally had some time to start learning pottery, something it’s been in my list for years. I took an intro class and spend quite a few late nights in the studio, practicing. Wheel throwing is challenging at all levels, from creating the first round pot to being able to replicate a piece a number of times. But it’s extremely rewarding – feeling the clay changing shape under a soft pressure, or discovering the vivid colors of the glazes after firing the piece.
It takes many steps to complete a piece: build, trim, fire, glaze and fire again. And all processes take time, which sets you into a slow pace – it’s a great way to end a working day in front of a computer.
These are some of the first pieces, ready to be trimmed. Those turned out quite heavy – the walls are thick and the bottom is fat.

These are small sake glasses, before firing the glazes:

And after:

A made a few more to complete a sake set:

I really like how the black glaze run under the blue to create this unexpected gradient:

Or how the blue glaze blended with the green in this one:

The glazes behave differently depending which ones you combine, how much time you let one dry before applying the other, etc. The results are always surprising, sometimes for good, sometimes not. In this case the turquoise glaze which was applied uniformly slippered over the clear glaze, forming thick bubbles.

In this other case, a green glaze under a clear crackle one worked well:

A bowl after being trimmed, and after firing:


I really like how this dark clay looks and feels, it has a soft grain really pleasant to the touch. In this ones I left the exterior of the piece raw, glazing only the inside so it’s food safe.
The glaze in this next piece turned out to be porous – it’s not inviting to drink from it. I made a pot for incense – the red sand is from the Merzouga Desert in Morocco, and the stones are from one of my favorite beaches in Menorca.


In this other pot I placed some pieces of blue glass at the bottom to melt during the firing. I made another small zen garden with this one – a more yellow sand from the Thar desert in Northwest India and some pieces I made with the same dark clay.


Those are hand build pieces from clay leftovers:


Peek: less skimming, more reading
February 8th, 2015 by ishbackI read a lot, but not really. Everyday I scan tenths of articles on the web – blog posts, news articles, essays. I may read word-by-word only 1 out of 100, if any. I find myself skipping full paragraphs and scanning for words in articles, specially in long ones. Is not that I’m not interested, it feels more like I don’t know how to read properly anymore.
The same happened with books. I started many last year, I only finished two. I try hard, but I lose focus and my mind starts wandering. I stare at the book and my eyes follow the lines and send stuff to my brain, and my brain is like “sorry I’m busy.” And then I turn the page and I realize I didn’t get anything about what just happened in the story. I look smart in the subway though.
I was curious to know why this is happening, and what to do with it. I found some answers by reading (!) a fantastic book, The Shallows by Nicholas Carr. Nicholas explains how the human brain has been reconfiguring itself, optimizing to the types of input it receives. When books became popular the human brain adjusted to a calm, linear type of input. With internet, our brain is rewiring for a fast, short, sometimes overlapping bits of information. As he puts it:
“I realized my brain wasn’t just drifting. It was hungry. It was demanding to be fed the way the Net fed it”
And not only hungry, our brain is also optimized for problem solving and being time efficient, also when reading. This is the consequence of our brain being trained everyday to navigate the web; finding the right keywords to search for specific information from a vast repository or scanning and filtering our social feed when we have one minute to spare.
There is another interesting article on how users read on the web. It starts with a summary: “They don’t”, and provides recommendations to design your text on the web according to the new readers’ abilities. In general, it suggests the use of ‘scannable text’, and somehow editorial platforms on the web like Medium provide formatting tools that are aligned with this directions. Having the reading time at the beginning of an article is already a good step towards calming down our brain, setting the expectations.
One of my hypotheses about why I scan articles instead of read them is that I’m not sure if I’m interested in the article, thus I don’t want to spend time reading it word-by-word to find out. Because you know, there are a few other articles to read on the web.
I posed myself a question: Is there a way I can better select what I read, without having to scan the articles? Trying to answer this question I sketched a concept for a reader, or maybe it’s just a feature for a reader. I called it Peek – a mobile reader that helps you filter what you read.

Peek gather articles from selected sources and presents them with peeks, 3 to 5 relevant excerpts. It’s your decision to dive into the long read, or fly over the next article. Peek eliminates skimming – long or short, you’re always reading.
In the main screen, a list of articles from different sources:

By swiping left on an article you reveal the peeks for that article, the most relevant* single sentences of that article. If a peek catches your attention, you can tap to access the full article, right where the excerpt is from. This way you can also read the part that is related to that peek that caught your attention without having to go through the whole piece.

The tool has also a highlighting feature, to mark interesting passages of an article, similar to the way you can highlight content on a Kindle. To highlight a sentence simply double tap:

*The highlighting feature has the double function of generating the peeks, by aggregating the highlights from multiple users and selecting the most relevant ones.
There is risk in relying on user’s input to create the peeks, the core of the concept. However, it seems proven that people use this feature on other platforms such as the Kindle, using a more arduous way of highlighting than a double tap. There may be other ways of defining crowdsourced ‘heat maps’ of interest in long pieces of content on the web (articles, talks, etc.) by looking at other parameters, such as comments – I sometimes use that in Medium to see what’s hot on an article.
I’m not planning to develop this in the near future, but still curious if a tool like this could help me read more, and better.
Moiré in z-axis
April 22nd, 2013 by ishbackI shoot video and take pictures of screen-based interfaces quite often and Moiré patterns, despite anti-aliasing filters, are very present. I found out that fashion photographers encounter the same issue when taking close-ups of garments. The Moiré effect happens when two or more grids are superposed. A grid can be the interweave of fabric, the array of a digital camera sensor, the pixels in a screen, etc.
The relative movement between the grids create dynamic Moiré patterns. For instance, this effect is apparent when zooming in and out pictures of a screen taken with a phone camera.
 (it seems that the Moiré is trying to mimic the wood pattern :)
I tried to simulate those Moiré patterns from grids moving relatively in depth one from the other as it happens in the example above, as opposite to the traditional patterns generated by grids moving on the same plane. I used the pixels of my laptop screen as a first grid, and an image I created as the second grid, consisting of a grid of 1 pixel black lines on a white background (or a matrix of white pixels on a black background):
 Using Processing I created a sequence of images zooming the pattern above from 0% to 200%, in 960 steps. The superposed grids (pattern from the image and pixels from the screen) rendered in a series of Moiré patterns that repeat sequentially:
– 30%
 – 25% (same as 50%, 16.67%, 12.5%, 10%, …)
 – 33% (same as 100%, 20%, …)
 – 40% (same as 200%, 66.67%, 13%, …)
 – 75% (same as 150%, 18.75%, 7.5%, …)
 And some interesting in-betweens:


(you can perceive another dynamic Moiré effect in some if the patterns above when scrolling up and down this page)
These are some of the patterns above at 32x:
-100%:

– 30%:

– 40%:

– 75%:

– 100.62%:

I made a video of the sequence. Due to the video compression the patterns are not shown properly – I suggest to download it to appreciate the sharpness of the patterns.
Taking any of the images above as seed for the zoom in sequence generate similar patterns.
I’ll try to post more experiments on Moiré patterns – I’m specially interested on the variations of colour when one of the grids has a coloured structure, such as screens (rgb). Here three pictures of the same image on a screen: (1) unfocused (to avoid Moiré patterns, natural perceived tone, grey) and near the optimal focus with a different focal distance, with (2) green and (3) red prevalence:


Some references about Moiré patterns:
– Illustrations and maths regarding the Moiré effect.
– A book containing an exhaustive study of Moiré patterns.
– Another book about grids from the same author.
Slow light
March 5th, 2013 by ishbackA couple of years ago in a Q&A for The Creators Project they asked me:
What fantasy piece of technology would you like to see invented?
I said:
A simple knob that connects to any source of light, so it slows down the speed of the light. Even down to zero, like a lightsaber.

I always dreamed about the endless possibilities if such a magical thing was ever feasible. And I recently discovered that it is happening! In the last story of this podcast from Radiolab (min. 45),
Danish physicist Lene Hau explains how she has been able to slow down a beam of light, passing it through an ultra-cold cloud of sodium atoms. She has also been able to transform the form of light into matter, recording the shape of the light pulse with a laser. This light copy (or light metadata) can be stored, and the light form re-created in another place and time.
Collection of sunsets

Cold-cloud photo camera


