ISHAC BERTRAN

Archive for the ‘Lab’ Category

Moiré in z-axis

Monday, April 22nd, 2013

I shoot video and take pictures of screen-based interfaces quite often and Moiré patterns, despite anti-aliasing filters, are very present. I found out that fashion photographers encounter the same issue when taking close-ups of garments. The Moiré effect happens when two or more grids are superposed. A grid can be the interweave of fabric, the array of a digital camera sensor,  the pixels in a screen, etc.

The relative movement between the grids create dynamic Moiré patterns. For instance, this effect is apparent when zooming in and out pictures of a screen taken with a phone camera.
(it seems that the Moiré is trying to mimic the wood pattern :)

I tried to simulate those Moiré patterns from grids moving relatively in depth one from the other as it happens in the example above, as opposite to the traditional patterns generated by grids moving on the same plane. I used the pixels of my laptop screen as a first grid, and an image I created as the second grid, consisting of a grid of 1 pixel black lines on a white background (or a matrix of white pixels on a black background):
Using Processing I created a sequence of images zooming the pattern above from 0% to 200%, in 960 steps. The superposed grids (pattern from the image and pixels from the screen) rendered in a series of Moiré patterns that repeat sequentially:

– 30%
– 25% (same as 50%, 16.67%, 12.5%, 10%, …)
– 33% (same as 100%, 20%, …)
– 40% (same as 200%, 66.67%, 13%, …)
– 75% (same as 150%, 18.75%, 7.5%, …)
And some interesting in-betweens:


(you can perceive another dynamic Moiré effect in some if the patterns above when scrolling up and down this page)

These are some of the patterns above at 32x:

-100%:

– 30%:

– 40%:

– 75%:

– 100.62%:

I made a video of the sequence. Due to the video compression the patterns are not shown properly – I suggest to download it to appreciate the sharpness of the patterns.

Taking any of the images above as seed for the zoom in sequence generate similar patterns.

I’ll try to post more experiments on Moiré patterns – I’m specially interested on the variations of colour when one of the grids has a coloured structure, such as screens (rgb). Here three pictures of the same image on a screen: (1) unfocused (to avoid Moiré patterns, natural perceived tone, grey) and near the optimal focus with a different focal distance, with (2) green and (3) red prevalence:

Some references about Moiré patterns:

Illustrations and maths regarding the Moiré effect.

– A book containing an exhaustive study of Moiré patterns.

– Another book about grids from the same author.

Natural interactions with spatially aware devices

Thursday, April 12th, 2012

This weekend I wanted to transfer some articles I had in my web browser to my Kindle, to read them later. Just thinking about all the necessary procedures made me rule out the idea.

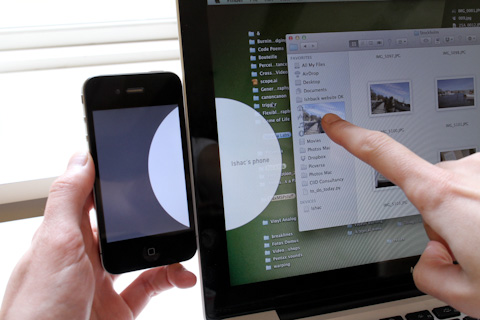
Despite how well virtually connected our devices are (iCloud, Dropbox, …), they still lack a tangible connection. A (representation of a) physical connection of those devices would facilitate a more intuitive interaction built on traditional mental models from the physical world. That’s one of the main reasons why kids interact with iPad so naturally, because it uses interfaces based on natural, tangible interactions.

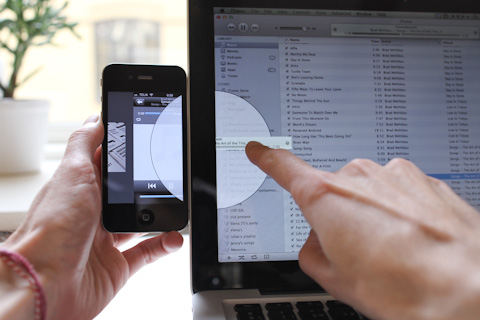
I tried to imagine how a more intuitive interaction would be while transferring media between devices, sketching it in a short video*:


The interaction feels natural, and provides a seamless transition while consuming media – in this case, listening to music from being in front of the computer to going mobile. It’s a more intuitive way to synchronize media across devices, and the ‘cloud’ would take care of the data transferring in the background (high res files, music that is not existing in your device yet, etc.)

Portable devices can locate other devices quite precisely on a large scale (using GPS, wifi triangulation, etc.) but in small spaces they only ‘sense’ the existence of other devices (bluetooth, local network) – neither the absolute nor relative position of other devices are being measured with precision enough to enable a physical connection beyond the cable.

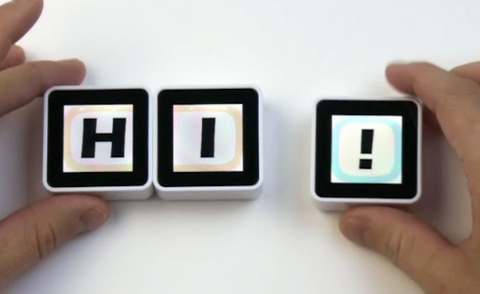
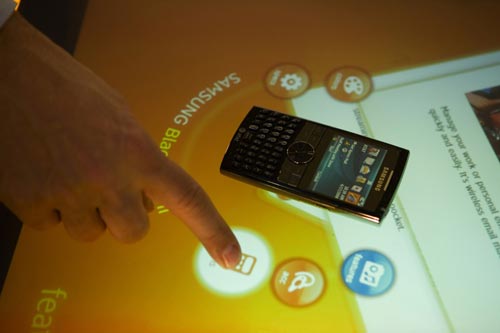
Some platforms use a physical connection using the device itself to create more intuitive ways to interact with them. Sifteo cubes use IrDA transceivers to detect other cubes nearby (<1cm). Microsoft Surface is using near-infrared light and cameras to detect objects sitting on the table. Last versions of Surface use PixelSense technology, being able to detect the object using micro sensors embedded on the screen pixel array.

Sifteo

Microsoft Surface

It seems that desktop and tablets are converging into a personal touch-screen device. Incorporating the technologies mentioned above on these devices would create a new canvas for exploring more natural ways of engaging with media on the tangible realm across multiple devices.


*The video sketch was done in a a few hours using the following tools:

– Keynote for the animations.

– Screenium for screencasting.

– iMovie for video editing.

– Freesound.org for the sound fx.

Mixing analog and digital techniques in photography post-production

Sunday, March 18th, 2012

Analog photography forced us to better understand the light and the physics behind photography, to better select the right moment to shoot, to better accept flaws as part of the captured moment. The fact of not being able to see the picture right after shooting, the ritual of bringing the roll film for development, having to wait some days and then, while browsing the photographs, making the connection to the moment they were shot… analog photography might not be convenient today, but it definitely has more magic than digital photography.

Likewise, digital post-processing is much easier and convenient than the analog process, but it lacks the same magic. The process of burning and dodging for example, isn’t it beautiful?

After watching this documentary (War Photographer, 2001, which I highly recommend) I wanted to try this process. Today it is not easy to access one of those labs, and each print, specially on this size, is quite expensive. I start thinking about how could I experience the process of manipulating the exposure as in the analog process, using more accessible means.

The analog dodging and burning process requires a light source, the negative of the picture, and the photographic paper to capture the projected light. A projector can substitute the light source + the film to project a picture, and a digital camera on long-exposure can substitute the photographic paper, to capture the projection. The exposure manipulation is the same in both methods, and definitely with more magic than the digital one.

I set up a room with the setup above (same as I used for Generative Photography experiments). To be aligned with the mix of analog and digital process I was about to try (camera and projector are digital, manipulation is analog), I decided to play with some pictures I took with my film camera. The pictures were developed using and A/D process, so I had them on my computer. The workflow then is the following:

First of all I made some tests to find the right settings for the camera and the projector, so the exposure as neutral as possible – the long-exposure picture of the projection (without manipulation) had similar exposure than the original.

I started playing with a picture of the sky, quite homogenous, in order to see how sensitive is the result to the manipulation. I used a circular tool, and a square one for big areas.

Trying to do some gradients, the first one is not quite smooth, the other two a bit better:

I was using 20 second exposures, and specially with the circular tool it was difficult to remember exactly which areas were already manipulated.

Combining the circular and square tool:

Then I used another picture to try a smooth gradient or to darken an area. Those some of the results:

I made some tests with this other picture, slightly overexposed in some areas:

Similar to what happens using the analog burning & dodging method, I didn’t have completely direct feedback about the manipulation, just what I could see on the small LCD screen of the camera. I thought it would be interesting to see the result on the screen, and be able to work on it right after. This way it would be an iterative process so I could manipulate small details in each iteration, that would be accumulated in each step. I used Processing to do the following steps:

1. Project the picture A

2. Open the shutter of the camera

3. (me) Manipulate the exposure

4. Close the shutter of the camera (after 20 seconds)

5. Send the recently taken picture A’ to the computer

6. Project the picture A’

7. (me) see the changes and analyze which area needs manipulation

(back to 2 and repeat)


The result was good in terms of the experience, being able to make small modification each time. The drawbacks were that there wasn’t a Ctrl+Z feature, and that it was extremely difficult to adjust the crop of the camera in order to keep the frame and aspect ratio of the picture. Actually after many tests I didn’t succeed – the width of the picture was diminishing at each iteration, while the contrast was increasing. This resulted in some freaky images:

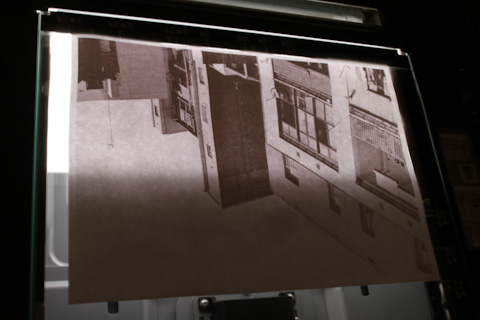
Willing to do some other digital/analog post-processing with accessible tools, I tried to apply a texture to a picture. I printed a picture in a plain white paper, and I used a photocopier and my camera to capture the texture of the paper.

This is the original picture:

This is the result, texturized:

Another test with another picture:

It was fun but I still want to spend some time in the photography lab :)

I made a short video of two of the tests I made:

Creating music samples with vinyl records

Thursday, August 18th, 2011

Music sampling has been done for years using different techniques. Currently samplers (either as a piece of hardware or as software) is the most extended tool for playing samples that can come from digital formatted music, live recording, vinyls or tapes. One of the most old techniques for sampling was cut&paste the audio tape. I love this video from Delia Derbyshire using reel-to-reel recording, creating loops by cut&pasting the audio tape, and sync the samples to create music.

Driven by my devotion for vinyls and analog processes (perhaps a bit of Dj wannabe too), and emulating the audio tape cut&paste technique, I tried to make the vinyl sampling a bit more analog – literally cut and paste pieces of vinyl to create samples.

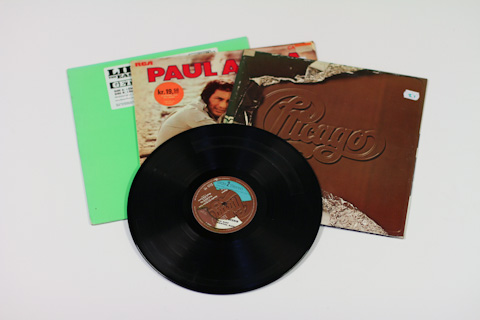
I bought some second hand vinyl records, different music styles: Supertramp, Wagner, Paul Anka, Chicago, Lil Jon and some random ones to make the first tests. I spend a couple of hours browsing and listening to old records – I remember thinking “all projects should start like this”.

Back to the studio, I considered different options to cut the vinyls – it had to be a clean cut in order to minimize the resulting groove and therefore the stress on the stylus.

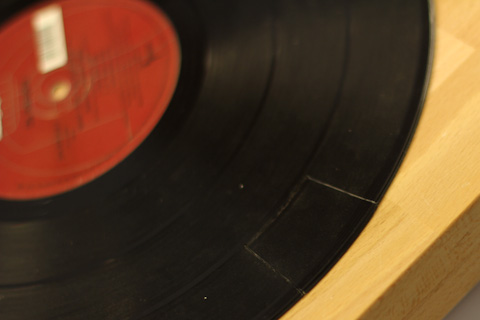
I first used a hot wire cutter – it took some time to set the right temperature so the wire cut but didn’t deform the vinyl. It was quite important to keep a constant speed to avoid undesired melting too. I cut a small sector with the idea of reversing it afterwards, so a song from Side A would have a sample from a song from Side B.

The piece fitted quite well in its natural position but not in its reverse position. I had to smooth it out with a file, but there was already a serious gap and V-shape groove pretty difficult to resolve.

So I jumped into the second attempt, using a blade. It took around 50 passes to cut one straight line.

I cut a radial sector, it was slightly better than the first trial (no melted material) but I had to remove a burr with a file and again, it created a tiny gap, big enough to scare the stylus.

Then I tried the laser cutter and things went better.

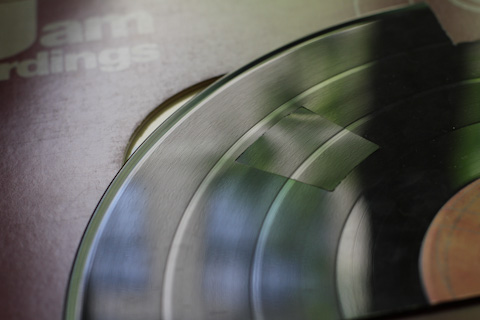
I made many tests to find the right laser power in order to get the cleanest cut possible. The best setting was to let the laser go through *almost* through the vinyl, and then crack manually the last thin layer (1). If the laser goes all the way through, it melts too much material and leaves a gap (2). If the laser doesn’t go enough deep, it’s pretty much impossible to take the piece out without creating an undesired crack (3).

Even if the laser is well calibrated, it always cuts creating a cone-shape cut. Using the first option the crack doesn’t take out any material or creates burrs on the bottom surface, so that surface is the one I used for playing the record afterwards. The top one always have a gap where the stylus would go in.

I made some tests with different sectors to analyze repeatability and the cut wasn’t totally consistent on different positions of the disc and even on different positions of a sector. I think it’s due to the difference in resolution of the laser head depending of the combinations of X and Y axis speeds.
These are sectors from the same record, already exchanged, seen from the laser cut side:

And this is seen from the bottom side, where the final layer is cracked. Aligning the surfaces properly the gap is almost not perceptible by the finger:

The first time I placed the record on the vinyl player for testing, I noticed that the sectors were too small and it was difficult to guess which sample was it. The transition wasn’t clean – when the stylus found the groove it created a low sound (similar than a bass drum).

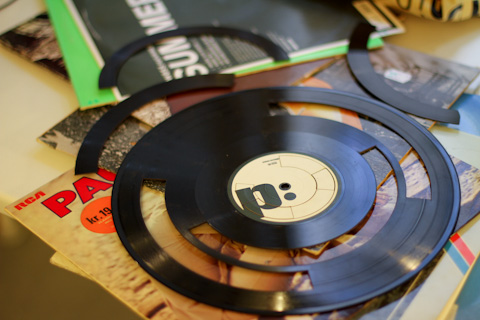
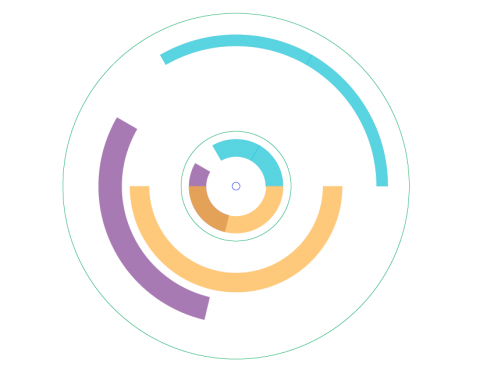
I decided to cut larger sectors on different records and exchange them to create loops or tunes using samples from different albums. I cut these patterns:

I cut the same angle in the label area so after the sectors were exchanged, I can remember which samples contain every record.


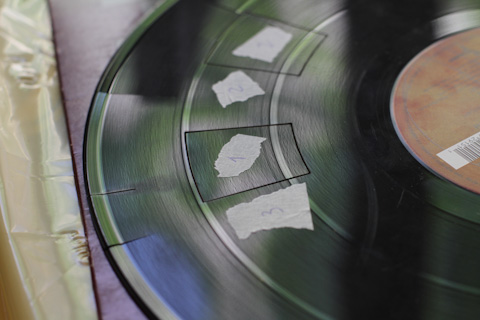
I exchanged the sectors from 4 different records: Paul Anka, Supertramp, Lil Jon and Chicago. I selected these four from the once I bought since they have the same thickness (1,2mm). The pieces snapped pretty well on its new position but I secured them temporarily with tape, so I could adjust the height and make the surface as even as possible before playing the record.


This are some of the resulting albums:

I made a video containing part of the process and the result, playing the records in a vinyl player.

It’s possible to hear (and see) the the stylus jumping a little bit – that’s not good for the needle. However this bumps create a new beat over the unmatching beats of the two samples, and that helps to define a new rhythm. I thought about selecting specific samples and make them match perfectly but that would work only for one rotation, so it might be good for scratching but not for listening continuously – it’s quite difficult to find records that the beat corresponds with a revolution.

It’s been an interesting experiment with a really fun process. I knew it would be, having vinyls, music and lasers involved :)