ISHAC BERTRAN

Playing with materials

March 26th, 2010 by ishback

During the Wearable Computing and Tangible user Interface courses at CIID we had the opportunity to have some time to play with materials. No hi-tech tools are needed for exploring different techniques to modify these materials, but in CIID we have the chance to have amazing workshops. That helps.

“Give me an idea, a laser-cutter and a couple of days”. Certainly, laser-cutter has opened a new horizon in terms of material processing. It can cut, raster, edge, drill holes, burn, etc. It does it over wood, paper, fabric, metal, plastic, stone or whatever (link bread) comes to your mind. And it does it precisely and fast.

With fabric is possible to achieve different colors depending on the intensity of the laser and the raster pattern. The cut is precise and it doesn’t fray.

11

Cutting lines in lycra generates nice shapes when stretched.

12

All the pieces of the glove for Atmo project were laser-cut, even the foam. Then I used conductive thread to generate the contact points for lighting the embedded LED.

16

17

21

Foamboard is also a good material for prototyping. Using the laser-cutter is possible to generate curves by edging lines.

05

07

Also to build structures that can be covered by fabric.

06

Stick fabric to the foamboard using spray-glue before laser-cut or edge.

13

23

Edging the cardboard, getting a burned finish.

51

Also wood gets a nice texturized burned finish:

08

Acrylic has been the material for many projects. It’s easy to cut with a laser-cutter and bend with hot air without losing transparency. Raster provides a nice translucent finish. It’s rigidity and durability allows to build working prototypes really quick. Some pictures from the The Discreet Window project:

42

43

44

45

46

47

Also stones can be edged with the laser-cut, with a nice textured golden finish.

01-7

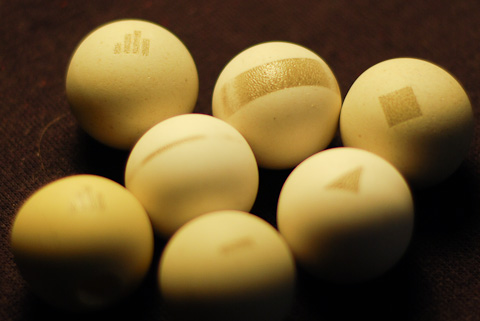
Apart from the laser-cut, we went to the workshops to play. The aspect of the cold steel can have beautiful colors by immersing it in salty water to rust it, or heating it with the grinder.

39

38

Or grinder the surface to create highlights in different directions.

54

53

Milling the wood to achieve a small thickness, an interesting solution to embed LED’s into the wood and see the light through when they are lighten up.

40

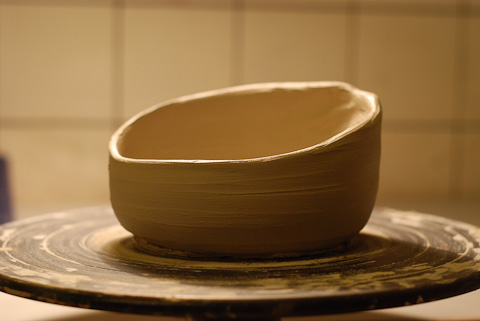
I spent an evening working with ceramics – it’s an amazing process. Shape the material with your hands, applying pressure carefully with your fingers and feel the piece evolve… using the wheel is fun. I need some teaching though, results were way different from the first idea.

01-8

52

Combining two materials to achieve a flexible structure. Afterwards I wanted to use glass instead of the balloon. Eric blew glass inside the structure, forming an amazing shape.

01-2

01

And magnets are cool!

34

37

36

Materials, tools and time are the ingredients to have fun exploring processes, some times with unexpected and pleasant surprises!

Prototype 3D shapes without digital modeling

March 25th, 2010 by ishback

To prototype non-linear shapes or wearable objects that have to be adapted to a certain part of a body we used a technique that avoids spending hours in a 3D software. It eases the process since no modeling of the desired shape or part of the body is required.

Taking a balloon as the shape we wanted to reproduce, we went through the following steps:

1. Cover the balloon with tape

08-2

2. Cover it then with fabric (cotton is ok), making the appropriate cuts and using tape to follow the curves.

01-3

3. Draw a desired pattern which will be used for cutting the fabric. Shapes should be about 3-4 cm. wide maximum in order to get flat pieces. It’s useful to draw extra lines that cross the main shapes and label them in both sides, in order to align adjacent pieces afterwards.

02-2

03-2

4. Cut the fabric following the pattern. The resulting pieces can be used to reconstruct the balloon, sticking the pieces together of cutting these shapes out of another material.

05-2

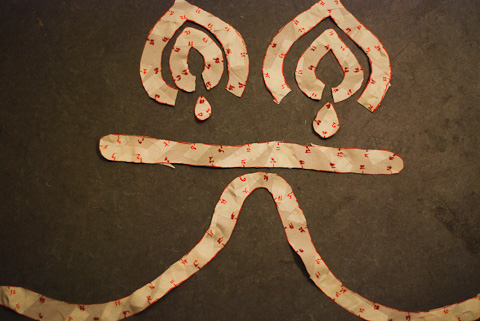
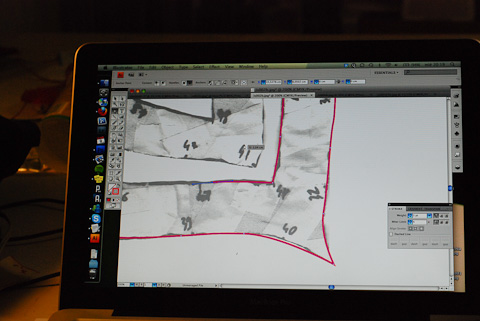
In order to be more precise to cut the new fabric, I scanned the patterns and traced them using Illustrator. Then I cut them with the laser-cutter, ready to be sewed.

07-2

01-4

We used this technique to build the dock of the project Atmo. Some pictures of the process:

14
01-6
01-5

Linyl, playing memories

January 31st, 2010 by ishback

Linyl is the project I developed during the second week of Physical Computing, together with Shruti Ramiah, Benoit Espinola and Natalia Echevarría. Linyl is a light player that allows to create an ambience by playing discs of color created from photos or images of past experiences.

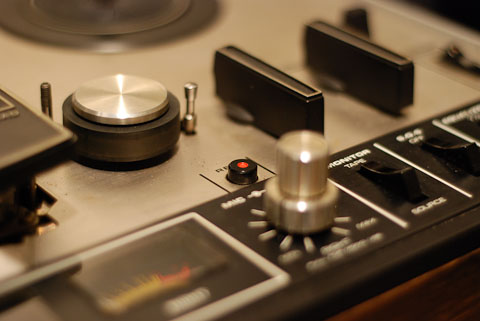
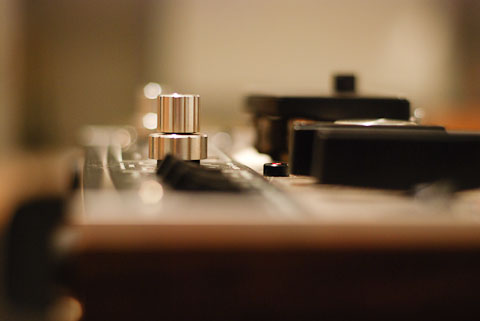
The brief was to choose an electronic object and create a new way to interact with it, “A New Soul for an Old Machine”. Natalia found two beautiful artifacts in her backyard. I spent a few minutes just playing with the knobs and switches of the tape recorder. Smooth, feeling of robustness and amazing sound. Click, clack, precise. In every movement you can feel a bunch of mechanical stuff moving inside. A complete interactive experience.

dsc_0090-3

dsc_0095-4

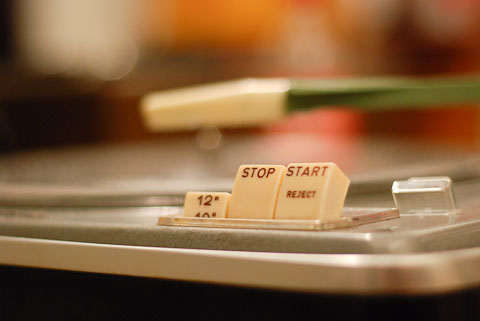
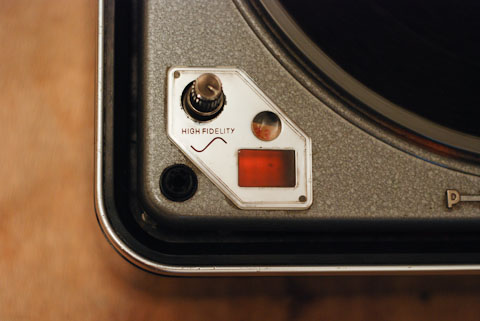
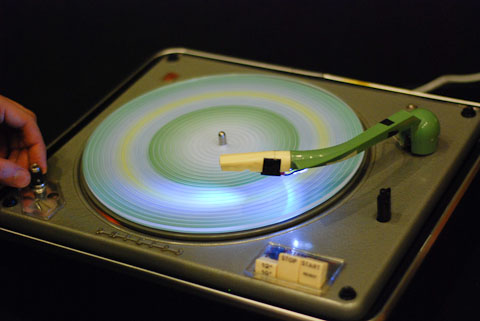
Regarding the vinyl player, amazing external design and even more amazing engineering inside. After taking out an old condenser that would probably cause an short-circuit, we plugged the player in and… surprise! It was working. After pressing ‘Start’ the arm started moving gently to the plate. The rotation speed can be manually fine-tuned using the strobe tuner.

dsc_0080-1

dsc_0087-2

dsc_0135-1

Nostalgia and admiration are mixed while looking at these old machines…

We decided to use the vinyl player for the project, changing the functionality but keeping the ritual and the slowness of the process of playing music. But instead of music, it plays light.

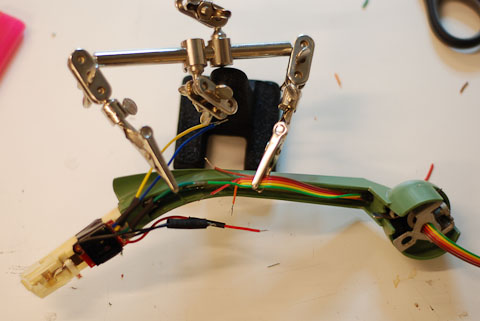
One of our premises (and a challenge too) was to keep the player working. We introduced the color sensor through the arm, and the Arduino inside the player.

dsc_0167-7

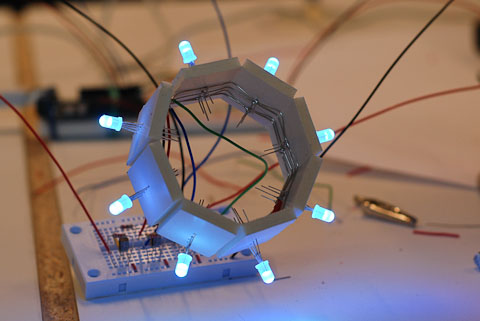
We build a set of eight RGB led’s with the correspondent board to be embedded in the lamp.

dsc_0161-6

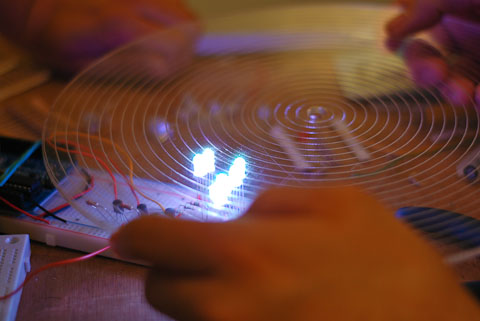
We laser-cutted a disc out of acrylic, engraving grooves on it. On the other hand we generated the discs extracting the main colors of the pictures.

dsc_0116-1

dsc_0180-8

The toughest work was to calibrate the sensor, since it’s extremely sensible to ambient light. We added a white led pointing to the disc to help the sensor read through the acrylic. The distance to the surface to be sensed was also an issue, having notable changes on the values with small variations of height.

dsc_0256-12

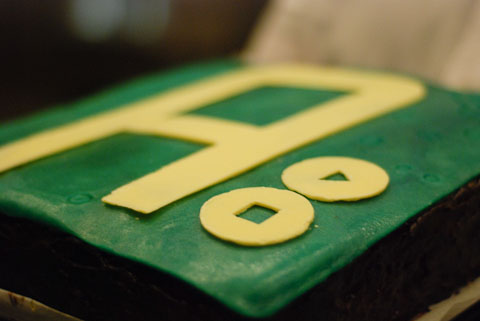
Linyl was exhibited in DKDS during the final presentations. Bill Verplank virtually attended the presentation, asking questions and giving feedback through Skype. Mary Huang made an ‘Arduino Cake’ to celebrate the end of this exciting week.

dsc_0216-9

dsc_0253-11

dsc_0236-10

Mimicry

November 25th, 2009 by ishback

The last project I developed the first week of Physical Computing was Mimicry, together with Dean McNamee. It is a lamp that imitates the color that is captured by an ‘eye’.

dsc_0254b

Here the video of the prototype:

A color sensor reads the color of the object placed against it, and wirelessly transfers the data to the lamp, that gently shifts from its current color to the object’s one.

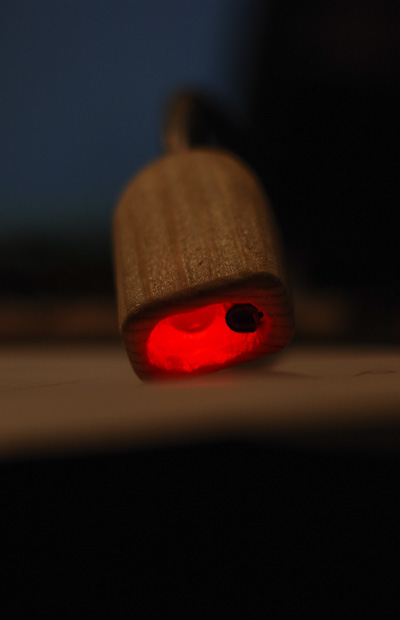
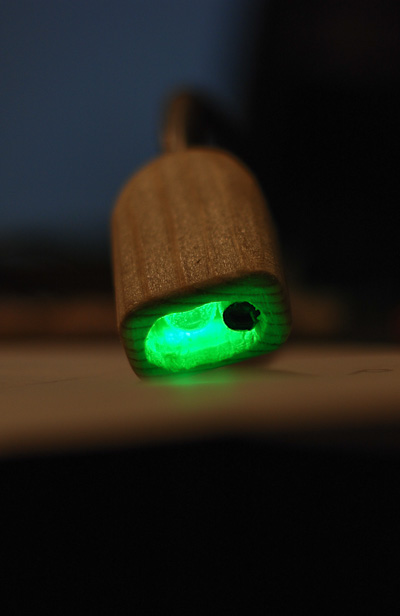
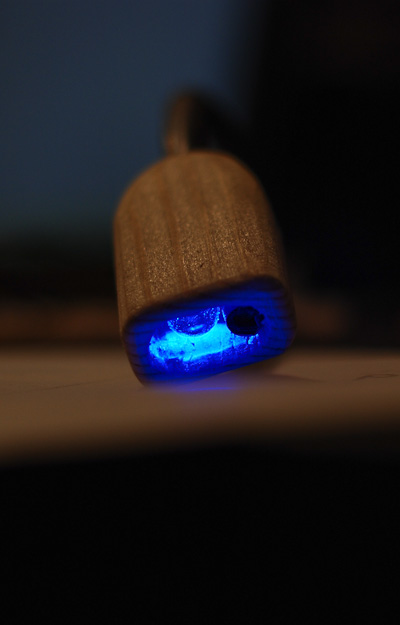
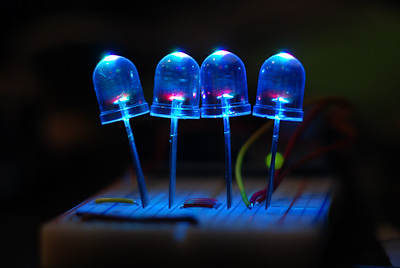
We developed a DIY sensor, really effective and fast enough for this project. A RGB led shines alternating red, blue and green light out of the eye. The reflected light for each channel is measured with a photoresistor. Once the three channels are known, the hue of the object is computed and transferred using XBee to the lamp.

dsc_0301-2dsc_0299-1dsc_0302-3

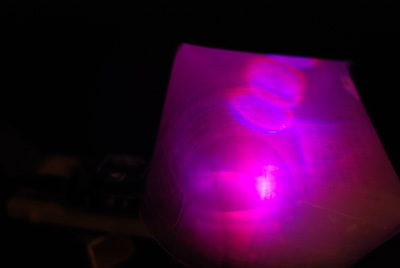
We added some red led’s to the group of RGB led’s, since this channel was slightly weaker than the others. We also used a sandblasted acetate sheet to diffuse the light.

dsc_0310-1

dsc_0423-1

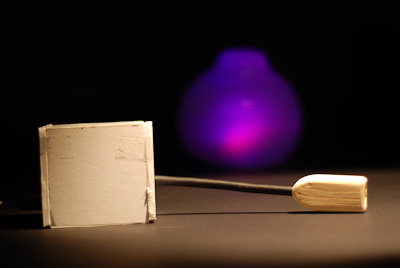
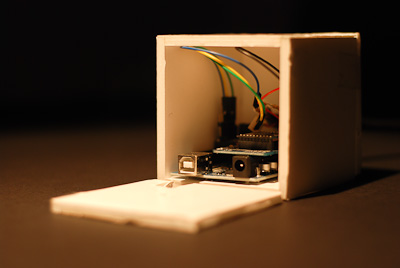
We used wood to build the eye’s housing, and foamboard for the Arduino’s box.

dsc_0403-1

dsc_0412-1

Some more pictures about this project here.

Code and handicraft

November 20th, 2009 by ishback

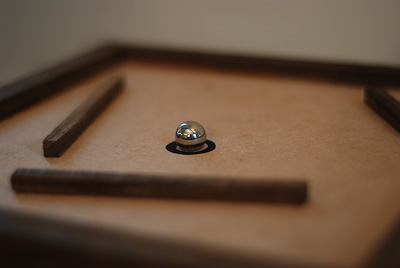
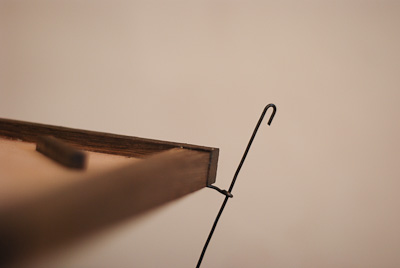
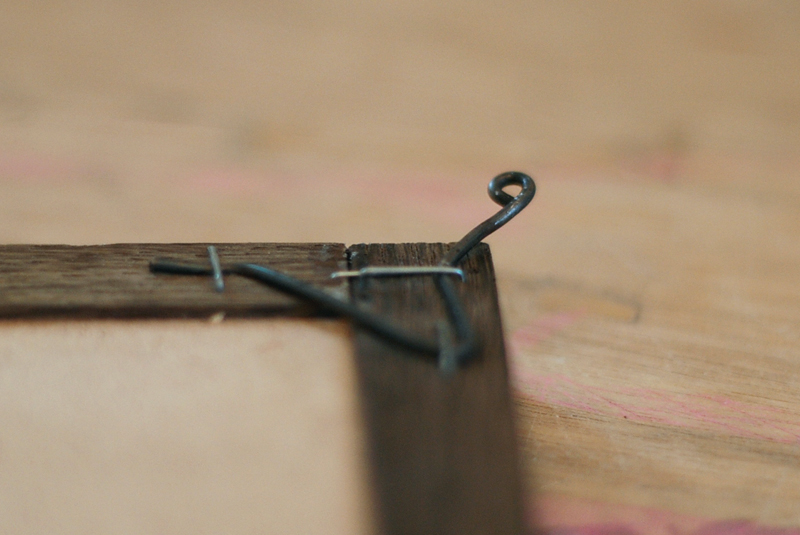
During the first week of Physical Computing I developed a tilt table game together with Dean McNamee. We used two Arduinos connec(as it was required for the exercise), using two potentiometers and two servos to tilt the table.


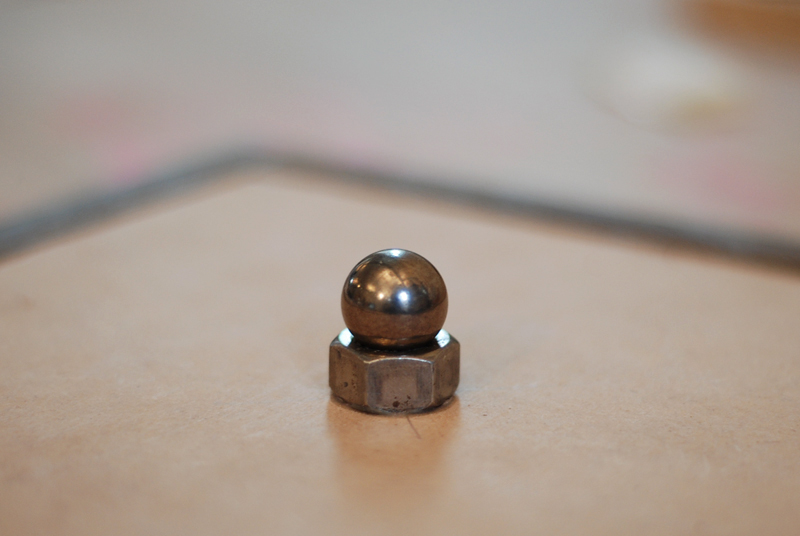
It’s always great to combine code and handicraft in a project, as we did in that one. Although the project was done in a few hours, we could take care of the details (as always!). We solved the joint with a steel ball and a nut.

dsc_0239-1

dsc_0244-1

dsc_0249-11

dsc_0248-11

Prototyping with Arduino

November 18th, 2009 by ishback

The first two weeks in November at CIID we had the Physical Computing course, taught by Massimo Banzi, co-creator of Arduino and co-founder of Tinker.it. The goal of the course was to learn how to prototype interactive concepts. Arduino is a platform conceived for this purpose – approaches electronics to designers, reduces development time, adds flexibility to the design process and allows more frequent validations. It has become the tool for testing and showing functional prototypes to clients.

The first week we learnt how to use Arduino (both the hardware and the software), types of sensors and the basics of electronics.

dsc_0085-1

Massimo explained also the importance of the community around the Arduino platform. The open-source attitude is key for spreading the knowledge and build over already explored areas. Massimo invited people with more experience to help others with less tinkering abilities, but learning from their fresh ideas, sometimes less conditioned by technical feasibility.

I had some previous experience with Arduino, but this course gave me the skills to quickly prototype ideas. The first week we developed three small projects, ranging from 2 hours to 1,5 days. We start learning by playing; we were asked to design a controller for a game made with Processing. I used push buttons for up&down control, and tilt sensors for left&right.

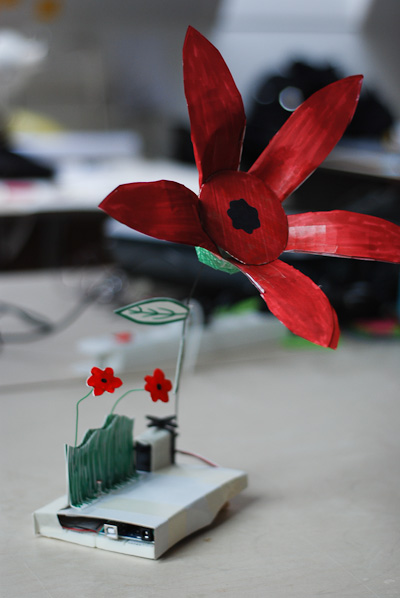
I developed another project with Li Bian, a flower that tends to orient toward the light. You can see a video here.

dsc_0181-1

flower

It was a pleasure to learn, and work side by side with Massimo. Is like having Steve Jobs explaining you how to use the iPhone or Ferran Adrià teaching how to make “pà amb tomàquet“.

rideCPH, a bike sharing concept for Copenhagen

November 15th, 2009 by ishback

Copenhagen was the first city to introduce a bike sharing system, in 1995. Since then, different cities have launched a bike sharing service as a healthy, environmentally respectful mean of transportation. Bicing (Barcelona) is a good example of success, having a high acceptation from locals and commuters – more than 400 stations and 6.000 bicycles in 2 years. However, the uni-directional flows and the lack of bike lanes in some districts are still challenging the system for a continuous improvement.

The city of Copenhagen, aware that its system was one step behind the modern ones, started an open design competition for the new Copenhagen bike sharing system. During our Upgrade Skills at CIID (Flash course), we were asked to design an interactive touch-point for the future system to be deployed in Copenhagen.

My concept aim to combine a simple and fast service for regular users and a guidance service for punctual users and specially, tourists. In my opinion, they should be a main target for for two reasons: 1. most of the people living in Copenhagen already have a bike, 2. discover the city riding a bike is part of the local culture and could lead to a better impression and experience.

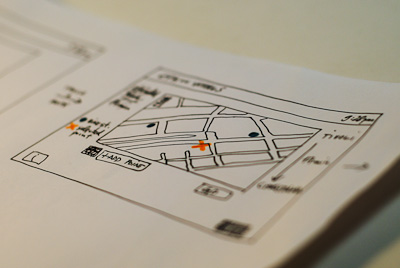
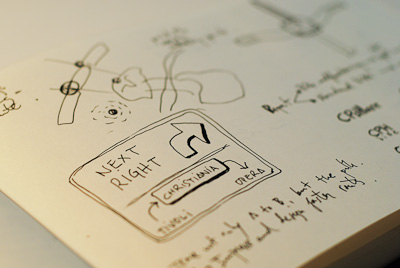
The guidance service allows to select a route in the touch-point. The bicycles are equipped with a module with GPS and LED’s that guides the user to the selected points.

dsc_0057-1

dsc_0059-1

Following, a video of the concept rideCPH showing the service and the interaction in the touch-point.

±pole

October 30th, 2009 by ishback

The second week of Computational Design we were asked to develop a project using Processing, either an application or a poster. Dennis Paul from The Product joined us this week.

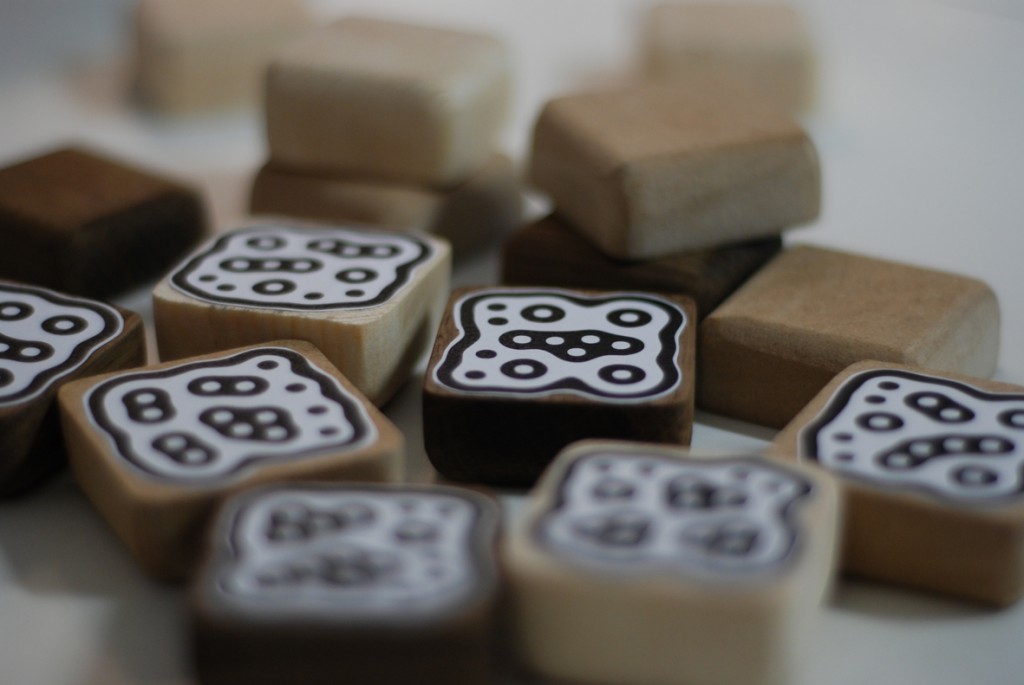
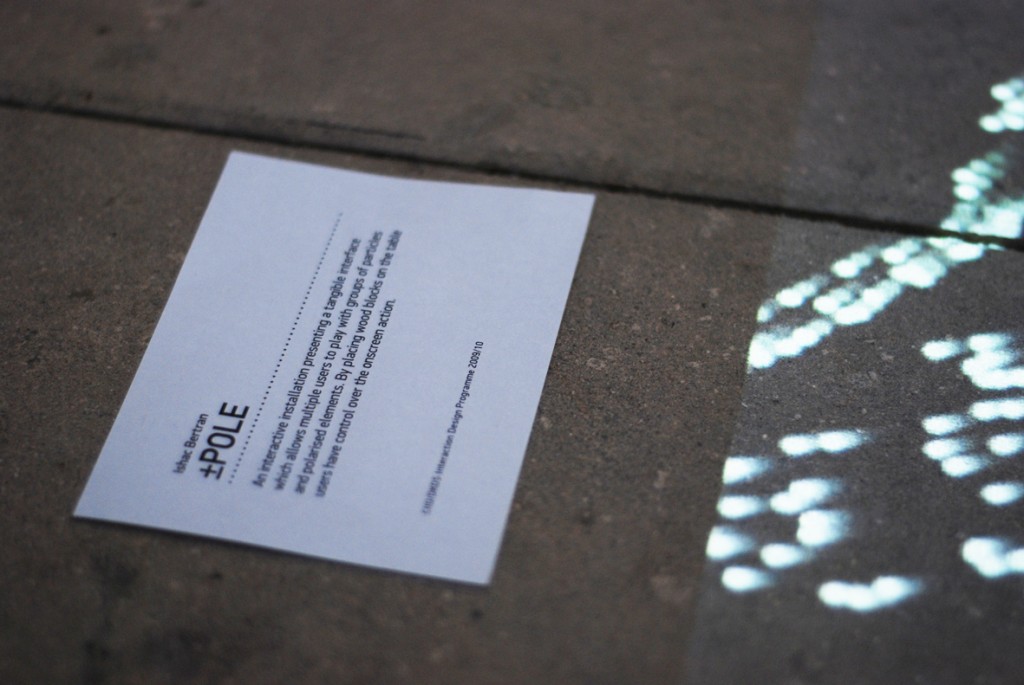
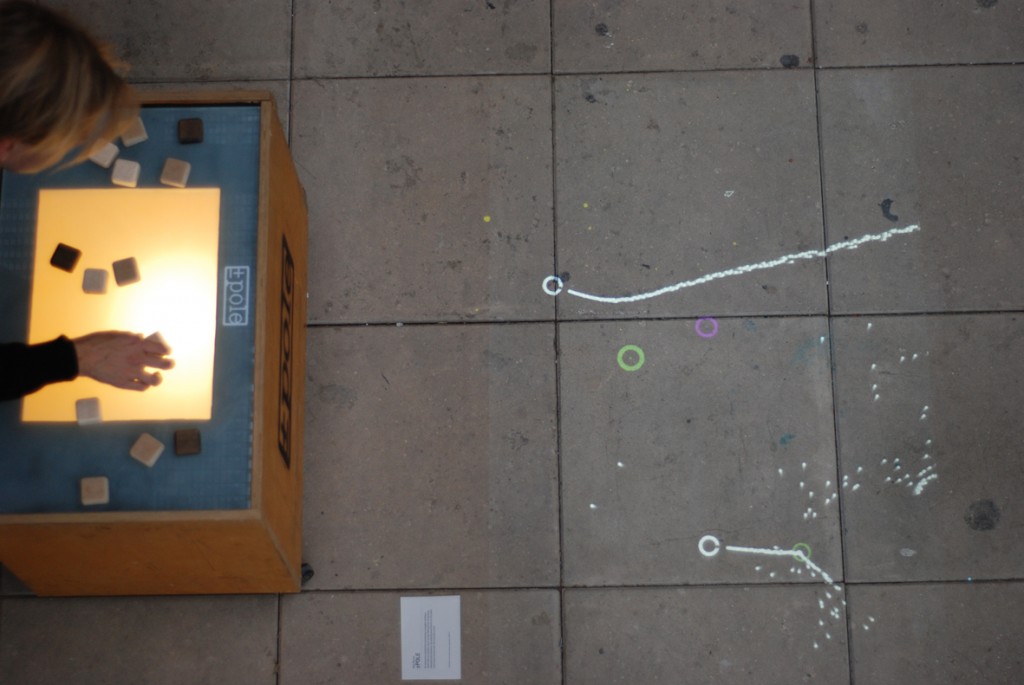
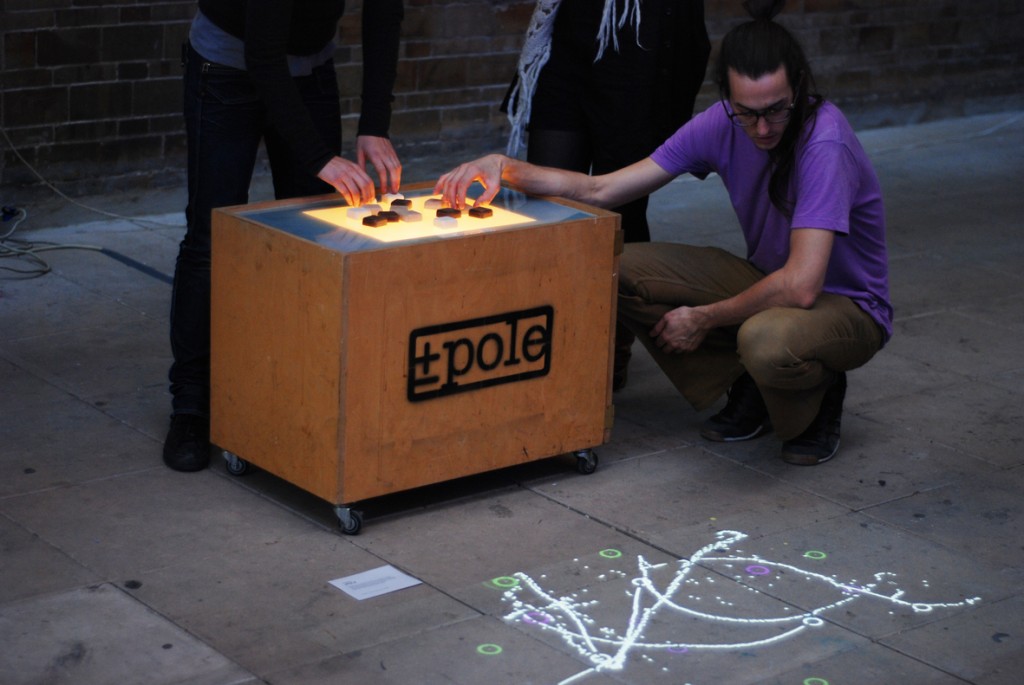
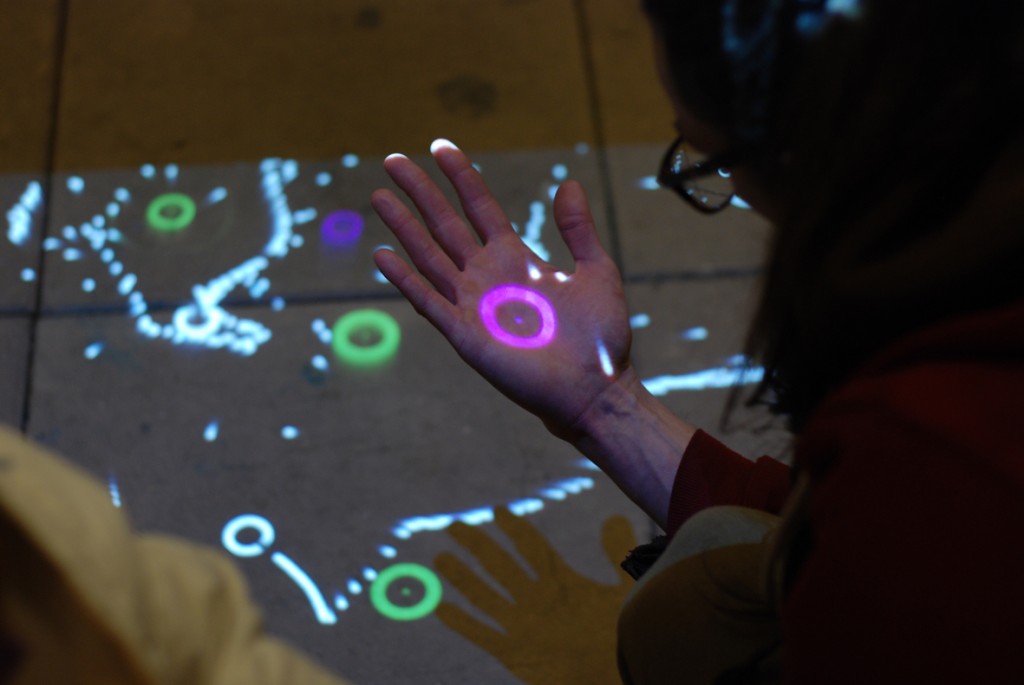
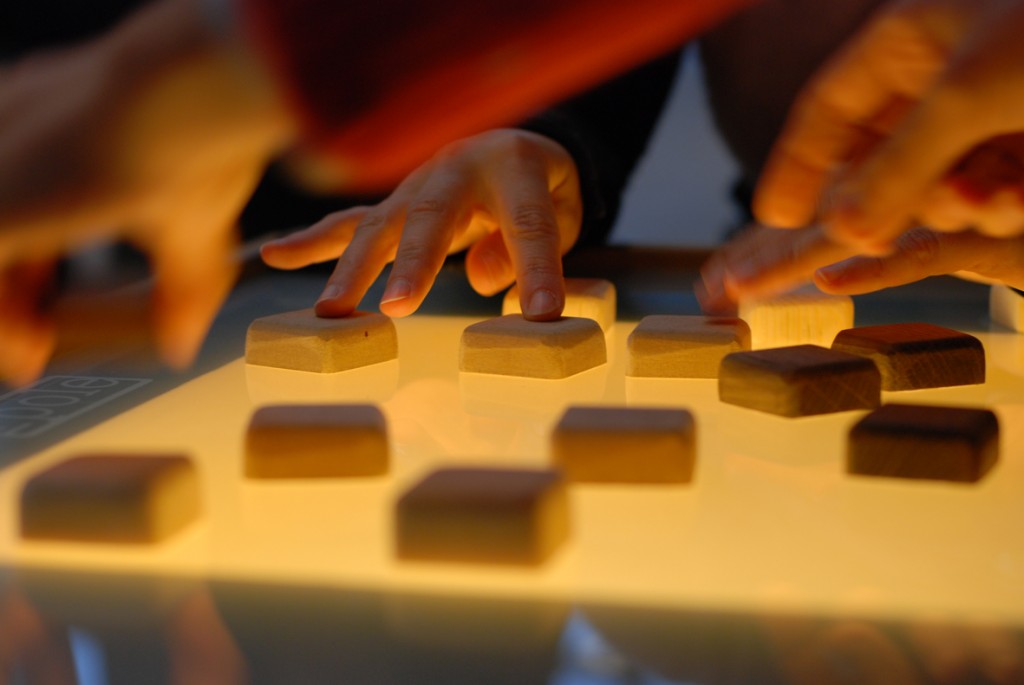
I developed an interactive installation that allows different users to play with wood pieces in a table, controlling elements projected on the floor.

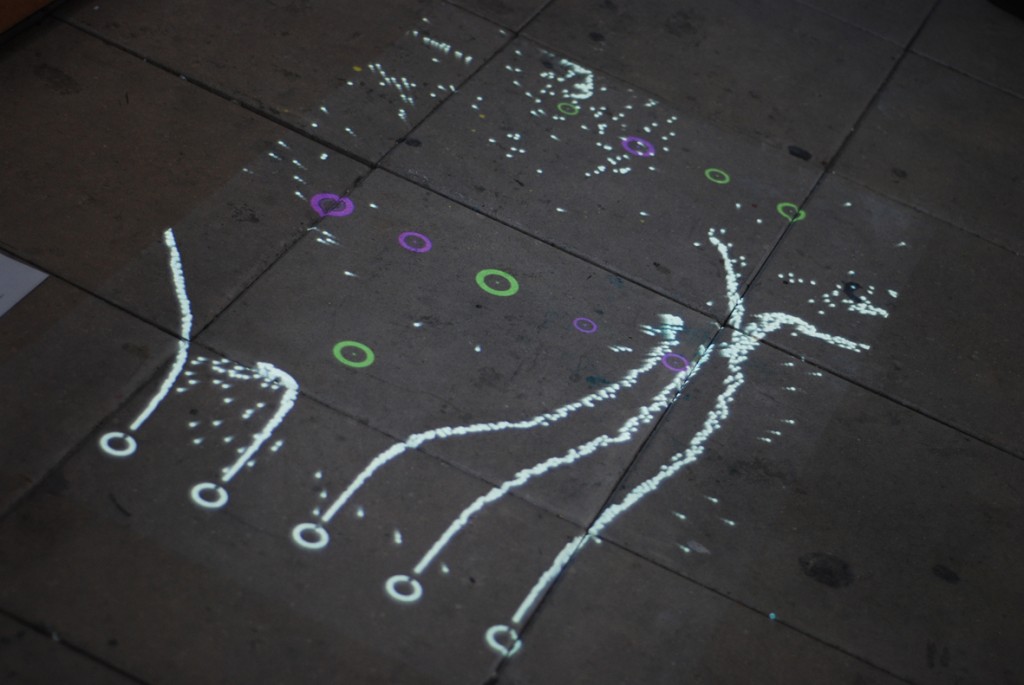
The visuals are developed with Processing. It consists of a system of particles that is affected by three types of elements: a generator that shoots the particles at a certain frequency, while attractors and deflectors create the force fields that affect particles’ trajectories.

dsc_0128b

The three elements in the projection are controlled with blocks of three different types of wood. Each block has a fiducial underneath, so its position and angle is captured by a camera using ReacTIVision. The angle in the generator changes the direction of the particles flow, while the angle in the deflectors and attractors varies the power of the force field created by each pole.

dsc_0040b

dsc_0028b

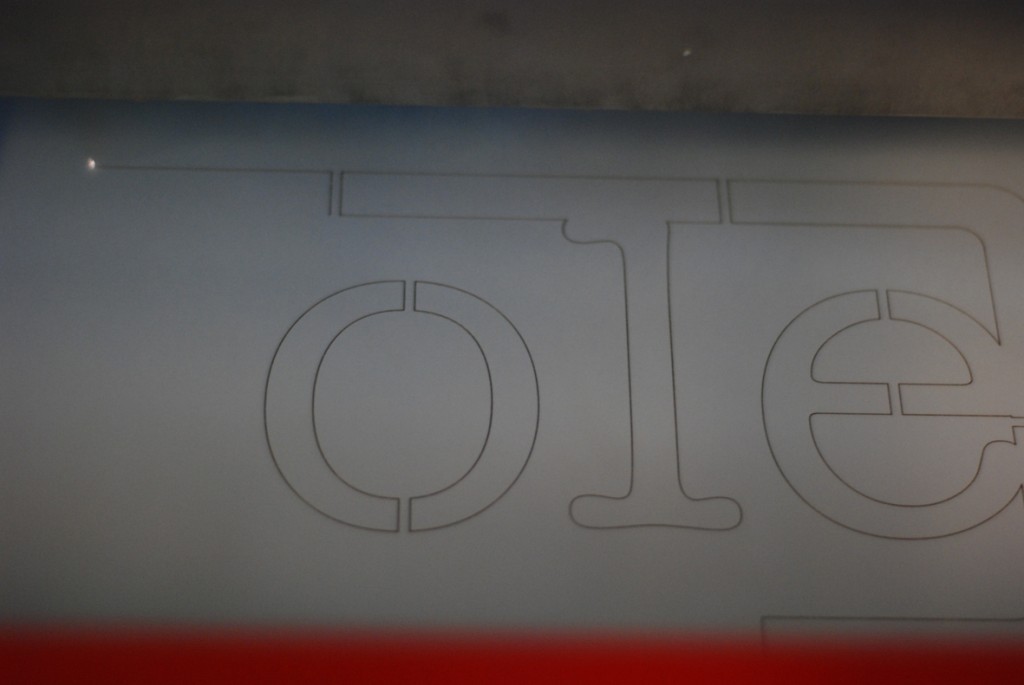
The table has a glass surface which I sandblasted to disperse the light. As a finish for tangible part of the project, I laser-cut the name of the project both for the stencil and for the logo over the table.

dsc_0008b

dsc_0022b

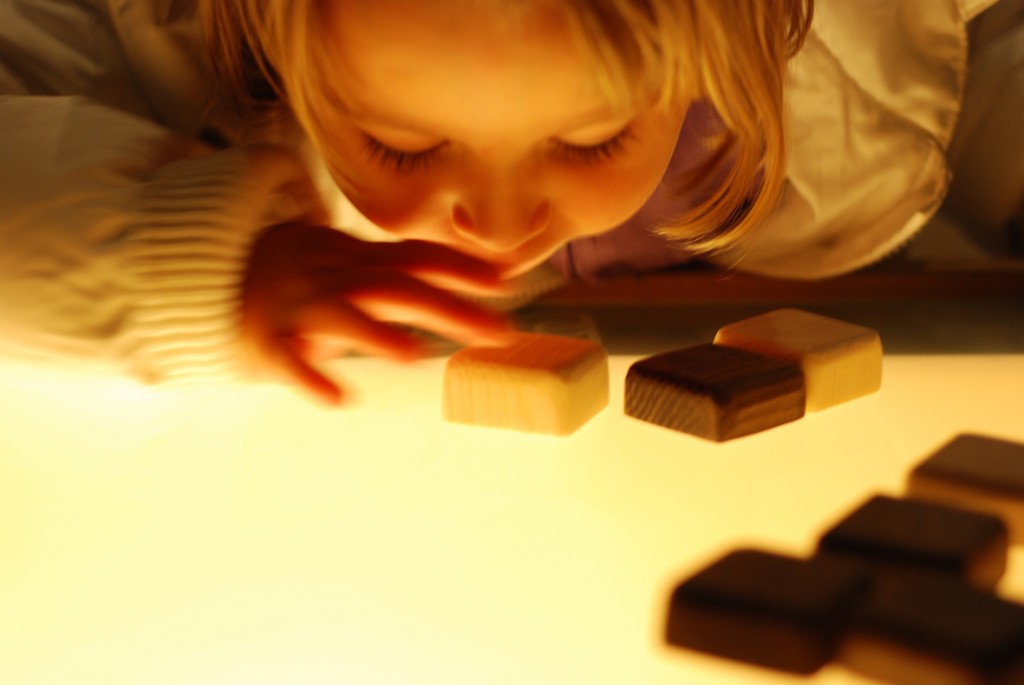
The project was exhibited at the Final Exhibition of the Computational Design course. Seeing Simona’s daughter play with the installation was the best reward, and encouraged me to use ±pole as a platform to explore other interactive applications for children.

dsc_0125b1

dsc_0064b

dsc_0087b

dsc_0281b

dsc_0194b

dsc_0259b

More pictures about ±pole here.