ISHAC BERTRAN

Archive for the ‘ciid’ Category

Designing today, tomorrow

Sunday, May 23rd, 2010

A month ago we made a small documentary around the role of the designer today, and tomorrow. We interviewed Simona Maschi (head of the Interaction Design Programme and co-founder of CIID), Vinay Venkatraman (co-founder of CIID), Peder Burgaard (Business Development Manager at TDC) and Iago Noguer Storgaard (Senior Consultant at ReD Associates) – four visions on the present and future of the design.

The documentary is being exhibited at Danish Design Center within the exhibition 10+ Design Forecast.

Designers have an enormous responsibility to shoulder and this goes way beyond the use of materials and aesthetic pleasure. Stepping back from the final ‘product’, we also need to think about the big picture.

The growing desire for individuals to customise and democratise products, systems and services plays a part in how the role of the designer slots in to a larger ecosystem.

Designers have the power to change the way people live their everyday lives. Business strategy, technology, communication and societal demands are just some of the aspects today’s designers need to take in to consideration.

The designer of today is the designer of tomorrow.

CIID’s admissions process for next year

Thursday, April 22nd, 2010

ciid1

If you’re interested in an Interaction Design course, I’d definitely recommend to apply for Copenhagen Institute of Interaction Design 2010-2011 programme. So far, it has been the most amazing creative and academic experience, with students from all over the world, with the best lecturers in the field. And for the next year, even a better course is being cooked. The deadline is May 3rd. Here the open letter from Alie Rose, head of communication.

Dear All –

In parallel with the launch of our new website, we are very pleased to announce the opening of the application process for our next generation of students.

As an education concerned with the broad potential of design and technology, the CIID Interaction Design Programme is looking for a wide diversity of students. We plan to have a class of 25 people and welcome applicants from all over the world with educational backgrounds in varying disciplines. You should be curious and creative, enthusiastic about design and have the desire to study in a cross-disciplinary environment. Whether you’re currently studying or working, you should be interested in the connections between education and interaction design practice.

To find out more about the application process and requirements please refer to the website:http://ciid.dk/education/admissions/ – there is a list of FAQs but if you have any other questions, don’t hesitate to ask.

The curriculum teaches students to apply technology to everyday life through the design of software, products and services. We believe in a hands-on and user-centered approach to interaction design. Students learn the programming and electronics skills needed to work with technology as a design medium. They conduct user-research and experience prototyping to provide real-world grounding to their concepts. Frequent work in multi-disciplinary teams encourages peer-to-peer learning and a diverse selection of visiting faculty exposes students to a range of expertise.

You can view documentation of the course and student projects here: http://ciid.dk/education/portfolio/.

Please feel free to distribute and post this information widely.

Kind regards,
Alie.

Playing with materials

Friday, March 26th, 2010

During the Wearable Computing and Tangible user Interface courses at CIID we had the opportunity to have some time to play with materials. No hi-tech tools are needed for exploring different techniques to modify these materials, but in CIID we have the chance to have amazing workshops. That helps.

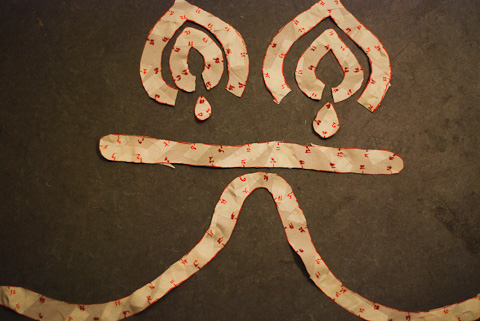
“Give me an idea, a laser-cutter and a couple of days”. Certainly, laser-cutter has opened a new horizon in terms of material processing. It can cut, raster, edge, drill holes, burn, etc. It does it over wood, paper, fabric, metal, plastic, stone or whatever (link bread) comes to your mind. And it does it precisely and fast.

With fabric is possible to achieve different colors depending on the intensity of the laser and the raster pattern. The cut is precise and it doesn’t fray.

11

Cutting lines in lycra generates nice shapes when stretched.

12

All the pieces of the glove for Atmo project were laser-cut, even the foam. Then I used conductive thread to generate the contact points for lighting the embedded LED.

16

17

21

Foamboard is also a good material for prototyping. Using the laser-cutter is possible to generate curves by edging lines.

05

07

Also to build structures that can be covered by fabric.

06

Stick fabric to the foamboard using spray-glue before laser-cut or edge.

13

23

Edging the cardboard, getting a burned finish.

51

Also wood gets a nice texturized burned finish:

08

Acrylic has been the material for many projects. It’s easy to cut with a laser-cutter and bend with hot air without losing transparency. Raster provides a nice translucent finish. It’s rigidity and durability allows to build working prototypes really quick. Some pictures from the The Discreet Window project:

42

43

44

45

46

47

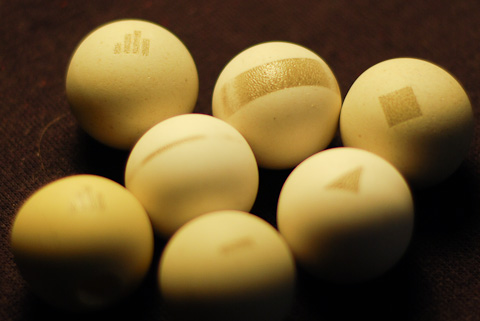
Also stones can be edged with the laser-cut, with a nice textured golden finish.
01-7

Apart from the laser-cut, we went to the workshops to play. The aspect of the cold steel can have beautiful colors by immersing it in salty water to rust it, or heating it with the grinder.

39

38

Or grinder the surface to create highlights in different directions.

54

53

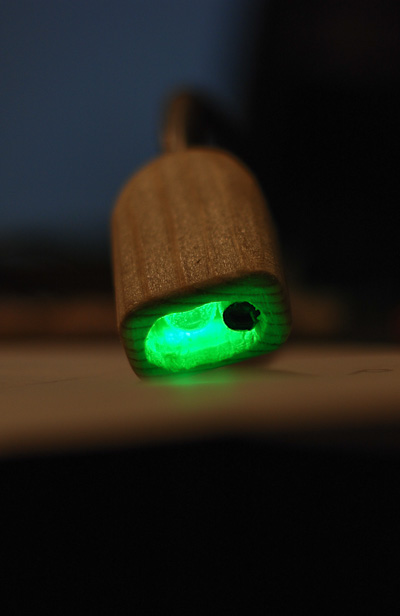
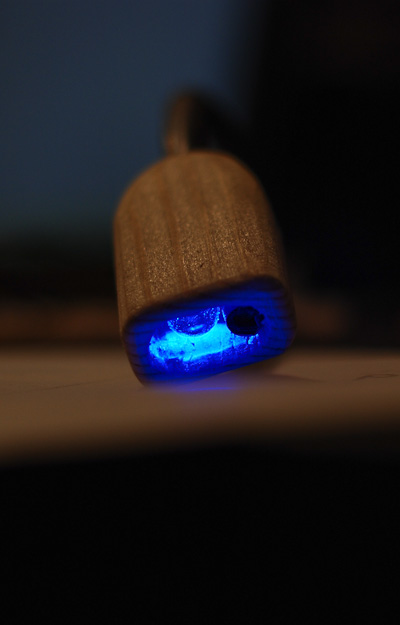
Milling the wood to achieve a small thickness, an interesting solution to embed LED’s into the wood and see the light through when they are lighten up.

40

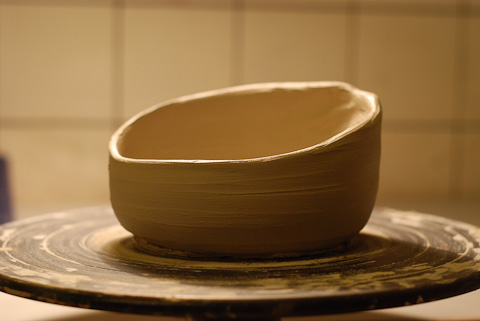
I spent an evening working with ceramics – it’s an amazing process. Shape the material with your hands, applying pressure carefully with your fingers and feel the piece evolve… using the wheel is fun. I need some teaching though, results were way different from the first idea.
01-8

52

Combining two materials to achieve a flexible structure. Afterwards I wanted to use glass instead of the balloon. Eric blew glass inside the structure, forming an amazing shape.

01-2

01

And magnets are cool!

34

37

36

Materials, tools and time are the ingredients to have fun exploring processes, some times with unexpected and pleasant surprises!
Prototype 3D shapes without digital modeling

Thursday, March 25th, 2010

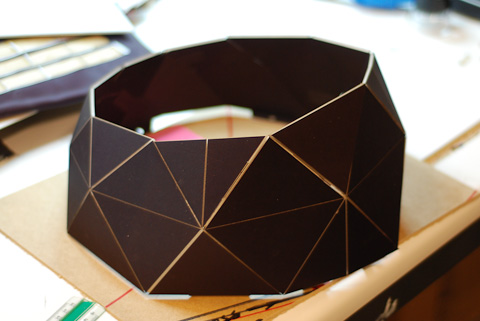
To prototype non-linear shapes or wearable objects that have to be adapted to a certain part of a body we used a technique that avoids spending hours in a 3D software. It eases the process since no modeling of the desired shape or part of the body is required.

Taking a balloon as the shape we wanted to reproduce, we went through the following steps:

1. Cover the balloon with tape

08-2

2. Cover it then with fabric (cotton is ok), making the appropriate cuts and using tape to follow the curves.

01-3

3. Draw a desired pattern which will be used for cutting the fabric. Shapes should be about 3-4 cm. wide maximum in order to get flat pieces. It’s useful to draw extra lines that cross the main shapes and label them in both sides, in order to align adjacent pieces afterwards.

02-2

03-2

4. Cut the fabric following the pattern. The resulting pieces can be used to reconstruct the balloon, sticking the pieces together of cutting these shapes out of another material.

05-2

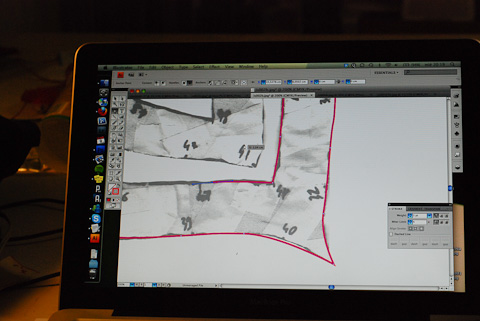
In order to be more precise to cut the new fabric, I scanned the patterns and traced them using Illustrator. Then I cut them with the laser-cutter, ready to be sewed.

07-2

01-4

We used this technique to build the dock of the project Atmo. Some pictures of the process:

14
01-6
01-5

Linyl, playing memories

Sunday, January 31st, 2010

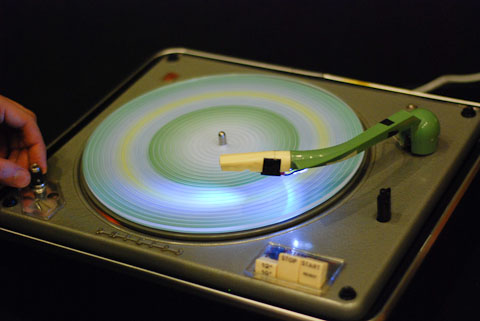
Linyl is the project I developed during the second week of Physical Computing, together with Shruti Ramiah, Benoit Espinola and Natalia Echevarría. Linyl is a light player that allows to create an ambience by playing discs of color created from photos or images of past experiences.

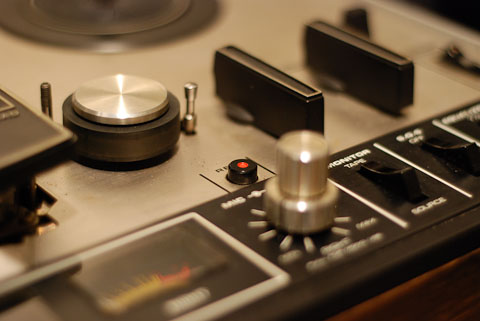
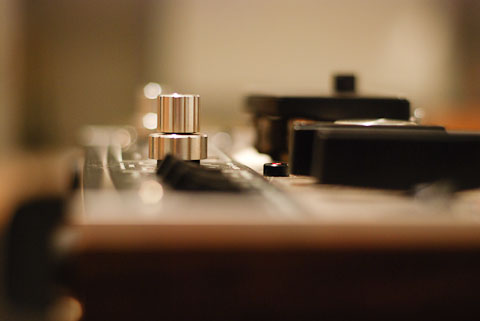
The brief was to choose an electronic object and create a new way to interact with it, “A New Soul for an Old Machine”. Natalia found two beautiful artifacts in her backyard. I spent a few minutes just playing with the knobs and switches of the tape recorder. Smooth, feeling of robustness and amazing sound. Click, clack, precise. In every movement you can feel a bunch of mechanical stuff moving inside. A complete interactive experience.

dsc_0090-3

dsc_0095-4

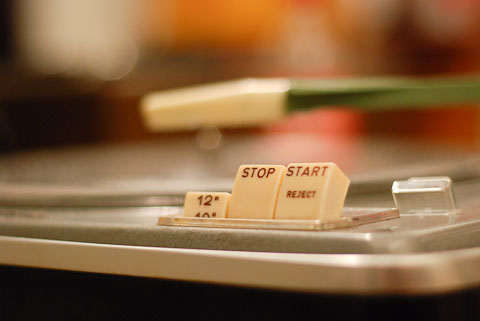
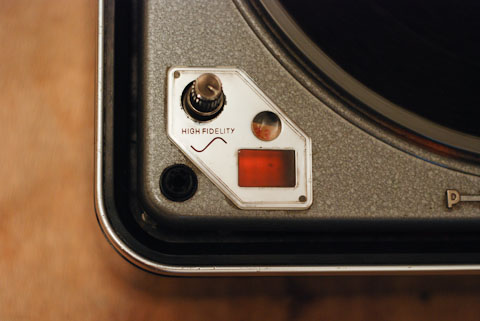
Regarding the vinyl player, amazing external design and even more amazing engineering inside. After taking out an old condenser that would probably cause an short-circuit, we plugged the player in and… surprise! It was working. After pressing ‘Start’ the arm started moving gently to the plate. The rotation speed can be manually fine-tuned using the strobe tuner.

dsc_0080-1

dsc_0087-2

dsc_0135-1

Nostalgia and admiration are mixed while looking at these old machines…

We decided to use the vinyl player for the project, changing the functionality but keeping the ritual and the slowness of the process of playing music. But instead of music, it plays light.

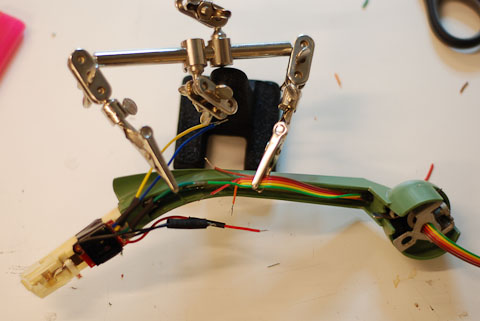
One of our premises (and a challenge too) was to keep the player working. We introduced the color sensor through the arm, and the Arduino inside the player.

dsc_0167-7

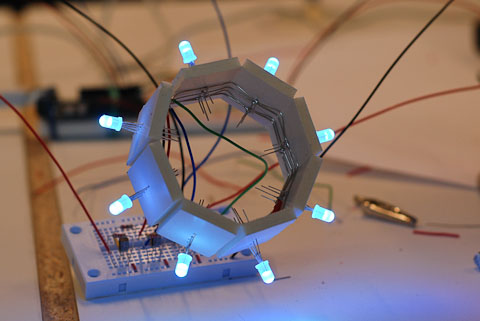
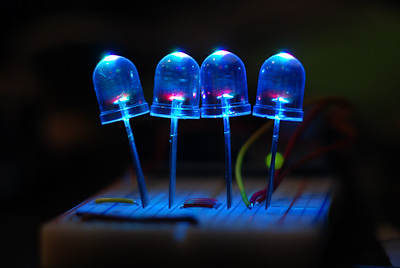
We build a set of eight RGB led’s with the correspondent board to be embedded in the lamp.

dsc_0161-6

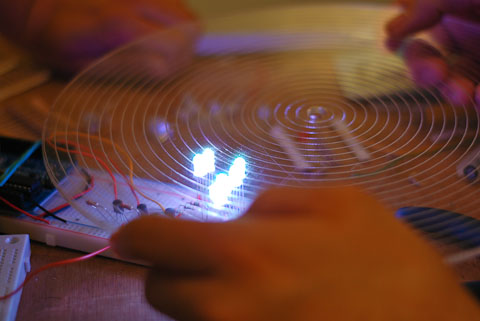
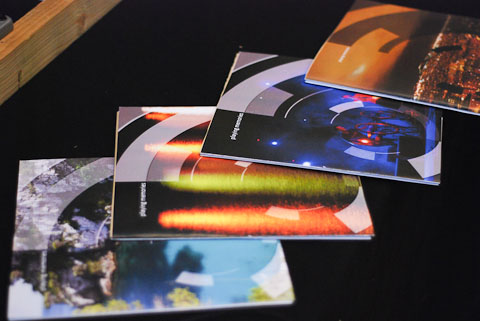
We laser-cutted a disc out of acrylic, engraving grooves on it. On the other hand we generated the discs extracting the main colors of the pictures.

dsc_0116-1

dsc_0180-8

The toughest work was to calibrate the sensor, since it’s extremely sensible to ambient light. We added a white led pointing to the disc to help the sensor read through the acrylic. The distance to the surface to be sensed was also an issue, having notable changes on the values with small variations of height.

dsc_0256-12

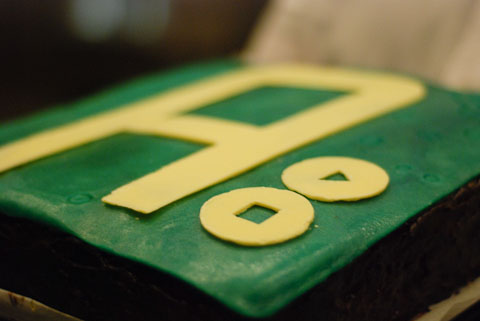
Linyl was exhibited in DKDS during the final presentations. Bill Verplank virtually attended the presentation, asking questions and giving feedback through Skype. Mary Huang made an ‘Arduino Cake’ to celebrate the end of this exciting week.

dsc_0216-9

dsc_0253-11

dsc_0236-10

Mimicry

Wednesday, November 25th, 2009

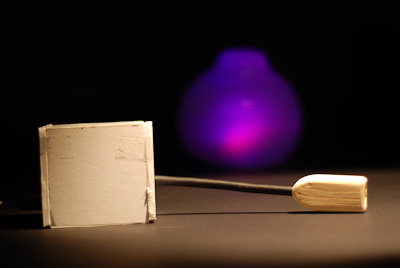
The last project I developed the first week of Physical Computing was Mimicry, together with Dean McNamee. It is a lamp that imitates the color that is captured by an ‘eye’.

dsc_0254b

Here the video of the prototype:

A color sensor reads the color of the object placed against it, and wirelessly transfers the data to the lamp, that gently shifts from its current color to the object’s one.

We developed a DIY sensor, really effective and fast enough for this project. A RGB led shines alternating red, blue and green light out of the eye. The reflected light for each channel is measured with a photoresistor. Once the three channels are known, the hue of the object is computed and transferred using XBee to the lamp.

dsc_0301-2dsc_0299-1dsc_0302-3

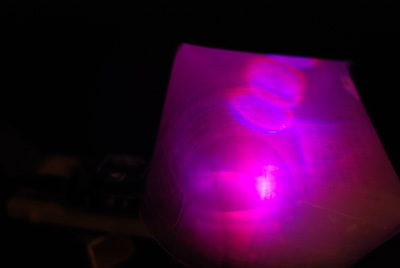
We added some red led’s to the group of RGB led’s, since this channel was slightly weaker than the others. We also used a sandblasted acetate sheet to diffuse the light.

dsc_0310-1

dsc_0423-1

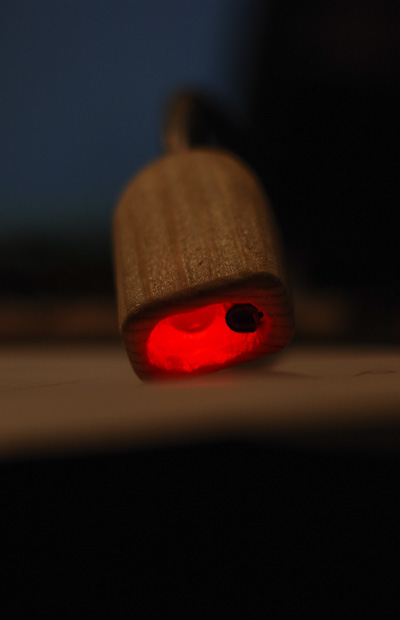
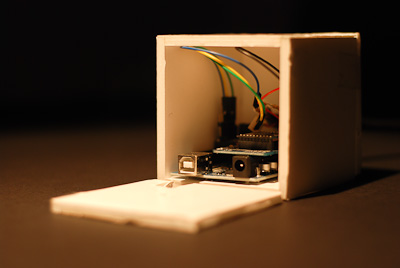
We used wood to build the eye’s housing, and foamboard for the Arduino’s box.

dsc_0403-1

dsc_0412-1

Some more pictures about this project here.

Code and handicraft

Friday, November 20th, 2009

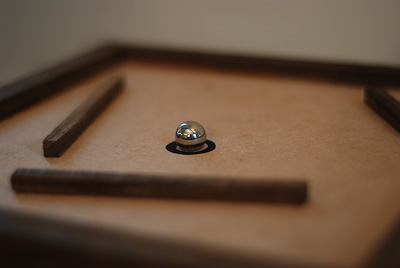
During the first week of Physical Computing I developed a tilt table game together with Dean McNamee. We used two Arduinos connec(as it was required for the exercise), using two potentiometers and two servos to tilt the table.


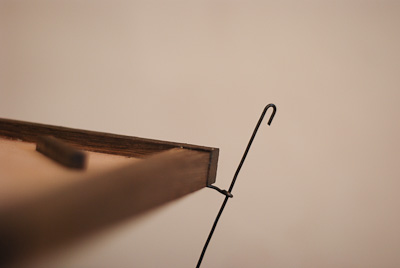
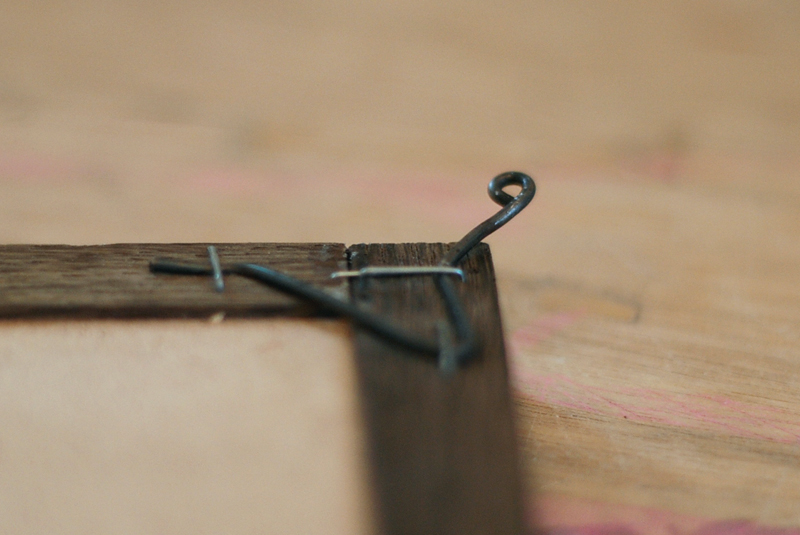
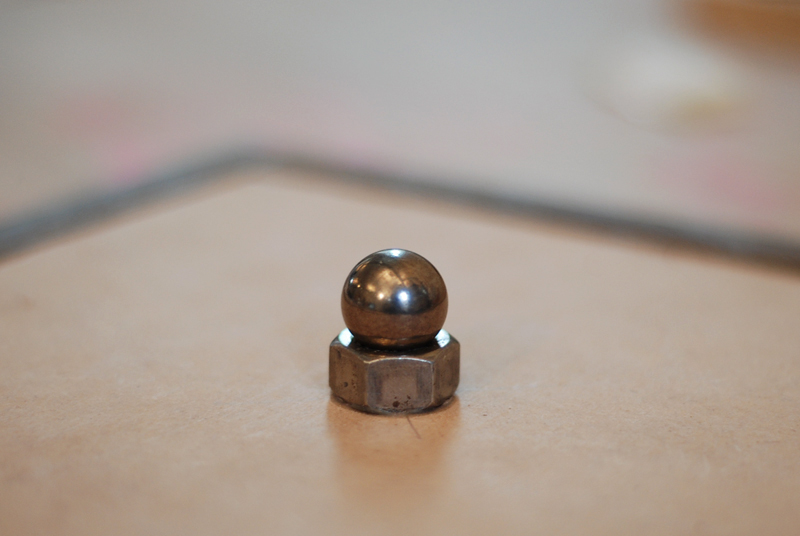
It’s always great to combine code and handicraft in a project, as we did in that one. Although the project was done in a few hours, we could take care of the details (as always!). We solved the joint with a steel ball and a nut.

dsc_0239-1

dsc_0244-1

dsc_0249-11

dsc_0248-11

Prototyping with Arduino

Wednesday, November 18th, 2009

The first two weeks in November at CIID we had the Physical Computing course, taught by Massimo Banzi, co-creator of Arduino and co-founder of Tinker.it. The goal of the course was to learn how to prototype interactive concepts. Arduino is a platform conceived for this purpose – approaches electronics to designers, reduces development time, adds flexibility to the design process and allows more frequent validations. It has become the tool for testing and showing functional prototypes to clients.

The first week we learnt how to use Arduino (both the hardware and the software), types of sensors and the basics of electronics.

dsc_0085-1

Massimo explained also the importance of the community around the Arduino platform. The open-source attitude is key for spreading the knowledge and build over already explored areas. Massimo invited people with more experience to help others with less tinkering abilities, but learning from their fresh ideas, sometimes less conditioned by technical feasibility.

I had some previous experience with Arduino, but this course gave me the skills to quickly prototype ideas. The first week we developed three small projects, ranging from 2 hours to 1,5 days. We start learning by playing; we were asked to design a controller for a game made with Processing. I used push buttons for up&down control, and tilt sensors for left&right.

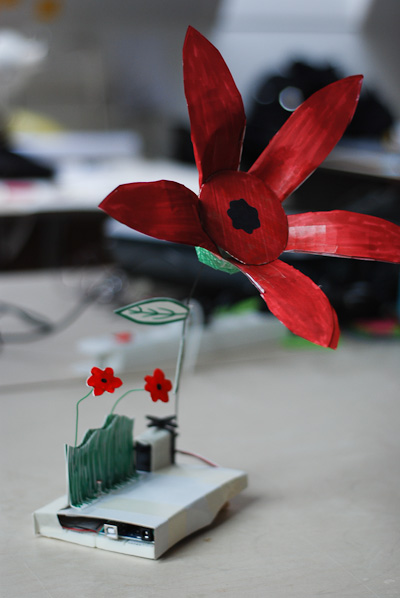
I developed another project with Li Bian, a flower that tends to orient toward the light. You can see a video here.

dsc_0181-1

flower

It was a pleasure to learn, and work side by side with Massimo. Is like having Steve Jobs explaining you how to use the iPhone or Ferran Adrià teaching how to make “pà amb tomàquet“.