ISHAC BERTRAN

Dynamic typeface

July 25th, 2011 by ishback

For the Generative Photography project I used basic patterns created with Processing. I thought it would be interesting to capture words with the same technique, so they would appear ‘broken’ depending on the framerate, and thus, difficult to read. I started seeking this effect projecting words with Processing – glitches didn’t appear when using regular typography, probably because the way is rendered is different than basic shapes (rectangle, ellipse, etc.)

I created a typography based on squares, so each character can fit in a 3×5 matrix, inspired on MiniML fonts by Craig Kroeger. I adapted some characters to make them fit into the 3×5 – ‘M’ and ‘W’ characters look a bit weird in such a small container but are still recognizable.

After coding the typo in processing to be generated parametrically, I was appealed by the aesthetics of the characters being overlapped with some transparency. The resulting symbols using negative tracking define a visual code or identity for each word.

It’s also interesting to think about these symbols as a way to encrypt information. I haven’t spent time thinking on how many words (from the English dictionary, say) could a single symbol represent.

It might be relatively easy to extract which characters are inside each symbol although it doesn’t have any information about the sequence, so anagrams are not distinguishable – ‘LISTEN’ and ‘SILENT’ look the same on the most compressed symbol.

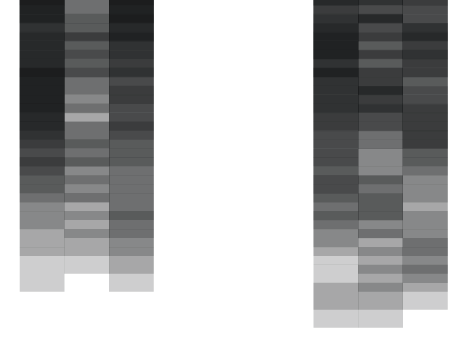
It starts being more complicated (and beautiful) when the letter-spacing is not multiple of the pixel size, creating interesting patterns and shades of grey.

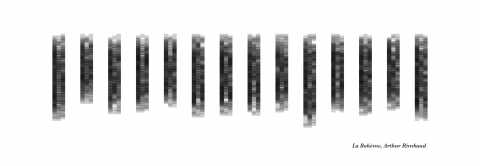
Using this idea I took the poem “Ma Bohème” by Arthur Rimbaud and I distributed each line vertically. These are two different layouts using different spacing.


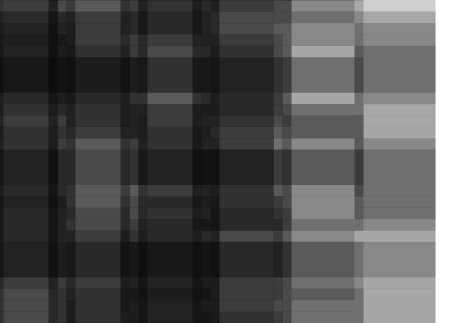
These are two close-ups of the images above, I really like to think that this apparent randomness have a meaning behind.

I wanted to capture the dynamism of using this typography while morphing from one position to another – I did this small experiment using the same poem, this time with horizontal arrangement so is easier to distinguish the text. The poem is recited by a french virtual lady (i.e. text-to-speech):

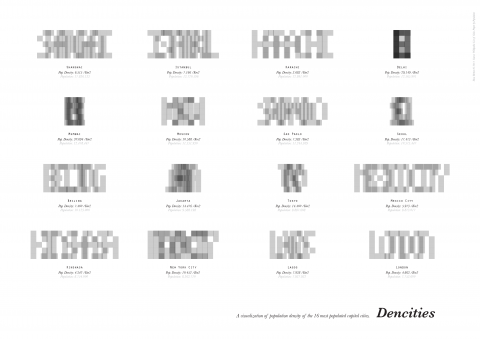
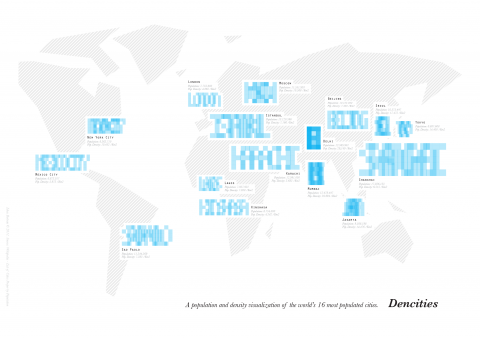
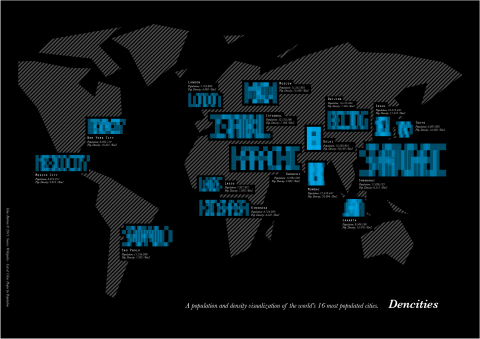
Separately, I thought about using the property of the typo to shrink for visualizing the population density of the world’s 16 most populated cities. The more dense is a city (population / km2), the more compressed are the characters.

I’m not completely convinced about it since the appearance of the symbols not only depends on the population density but also on how long is the name of the city. What is true (and taking the meaning of density literally) is that the density of the symbols change according to the population density – amount of black / cm2, for example. Is not strictly comparable from one city to another since the name length is not the same, but the grey intensity together with the level of legibility gives a sense of density.

While comparing different cities, the population density lacks some meaning without the population number. In the following poster each city symbol contains information about the population (using the font size, linear relationship) and the population density (using letter-spacing, Dens^2+Dens+A relationship; letter-spacing being relative to the font size).

White version:

Black version:

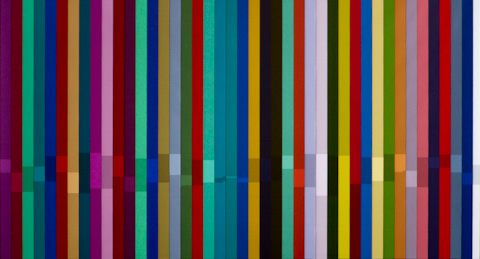
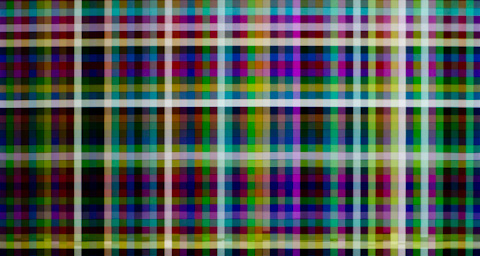
In parallel I made some tests adding color. These are samples using different ‘densities’ and color patterns:

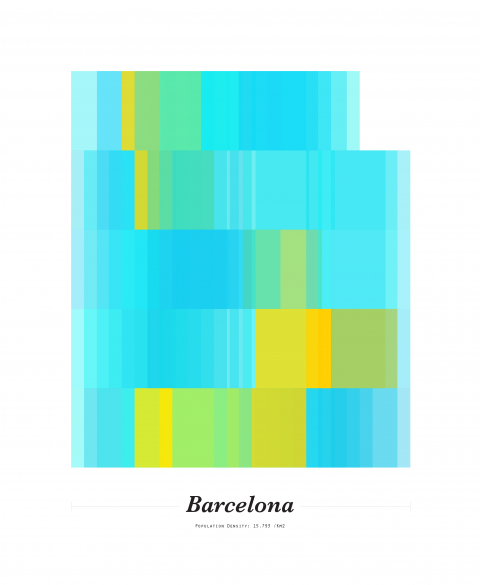
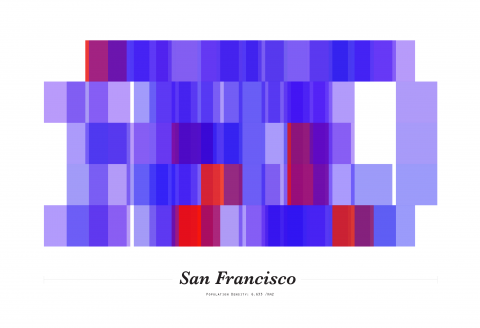
Using the population parameter, I created some posters for other cities. Here the ones from the two cities I was visiting in the moment of doing these experiments:

There has been a slight deviation from the first purpose of that dynamic font and the experiments shown above – I’ll come back to the photography path some day.



Future

July 16th, 2011 by ishback

Filter the filter

May 16th, 2011 by ishback

I’m not a heavy user of Instagram but I enjoy its easiness – take a picture, make it look better, and share it. Thanks to Statigram I know that I use Instagram mostly on Fridays, I publish 88% of the photos with filter and that the filter I use more is X-Pro II.

Recently I discovered that is possible to use more than one filter on the same picture:

1. Take a picture with instagram (or retrieve it from your Camera Roll)

2. Apply a filter and tap Next.

3. Wait a couple of seconds on this screen. Your picture will be saved in your Camera Roll without the need of publishing it.

4. Press Back twice and retrieve your picture (already filtered) using the bottom-left icon. Adjust the crop, and press Next.

5. Apply the new filter and publish.

This is an example of a picture taken from Waterloo Bridge (London), after applying two filters (Apollo and then Hefe) to combine a vignetting and the color levels:

This serie is the original picture, only with the Apollo filter and only with Hefe filter:

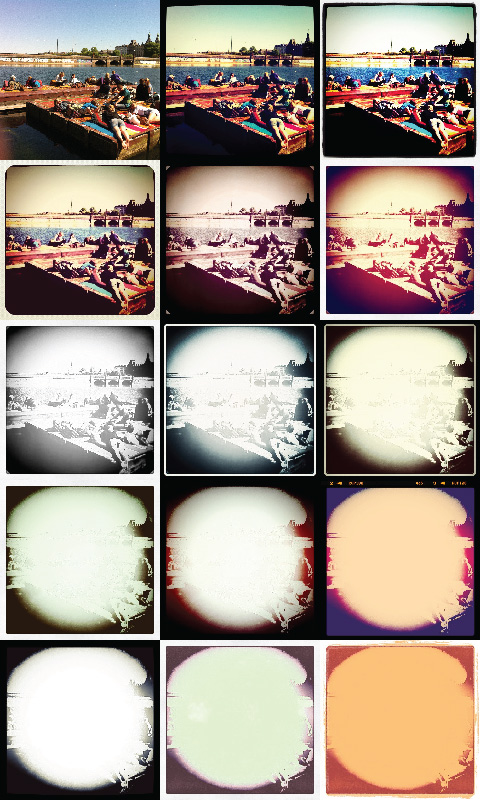
I wondered how a picture would look like after applying sequentially all the available filters, so I did using this picture taken at Copenhagen lakes:

The picture is progressively degraded, but I like how it looks in the third row for example where is still possible to guess what’s in it, and some contours are still well defined.

This is the same process using the inverse order of the filters:

The last frame reminds me a burnt frame of a film in a projector.

Conclusion: the order of the filters DOES affect the product :)

Think, Plan, Execute

May 5th, 2011 by ishback

Project phases from Bézier’s point of view.

Hunting glitches

March 16th, 2011 by ishback

Recently I made some more experiments in Generative Photography. I went a bit deeper on analyzing the glitches caused by the rendering and the asynchrony between the frame rate of the video signal and the refresh rate of the projector. The experiments pursue an artistic exploration to achieve a certain aesthetic outcome more than a research on computer engineering. Thus, how these glitches are generated and why they behave as they do has not been analysed. However, there are some observations in the following lines.

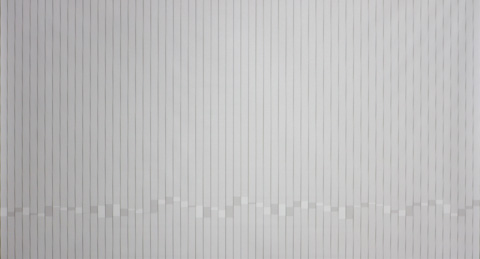
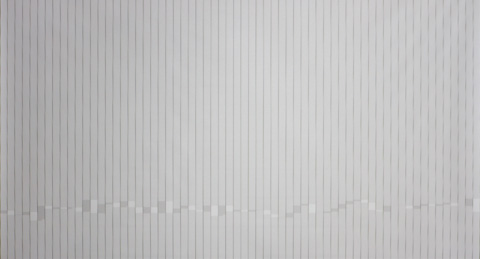
First I tried repeatability, these are three pictures taken consecutively at 10fps:

The glitches never look the same but they are always distributed along a line in the same height of the image. If I restart the sketch in Processing, the position of the glitches change – in this case, the glitches are on the very top of the picture.

And following pictures that were taken after this one have the glitches also in the top. So it seems that there is a relation between the position and the moment the sketch is started. I don’t know much about computer engineering so suggestions on why that happens are welcome. Maybe it depends on the position of the computer’s or graphic card’s clock at the moment of starting the sketch?

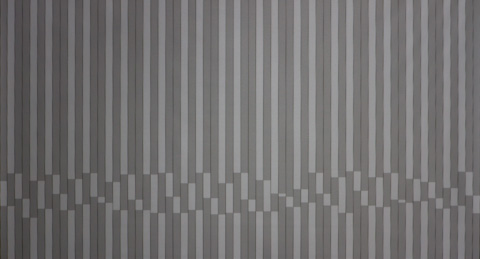
Afterwards I decided to play a movie with Quicktime while running the sketch, to see how the processor’s activity affects the glitches. And it does quite a lot – in these three images taken consecutively it seems that it stabilizes the rendering:

In the next experiment I used the same sketch with different frame rates ranging from 10fps to 100fps. Here some examples, keeping the aperture and ISO constant:

24fps:

25fps:

An example of how much patterns change only adding 1 frame per second.

30fps:

31fps:

32fps:

33fps:

34fps:

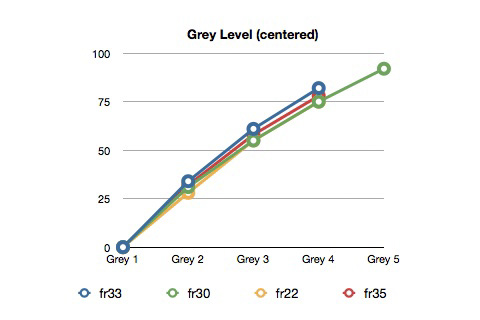
I wanted to know if the exposure time of the different gray shades in a given picture are multiples (so the brightest grey has been projected n times the time the darkest grey has been projected). After slightly blur an image in Photoshop to reduce variability, I measured the four grey levels using the color picker.

I repeated the measurement in four different photographs, obtaining values that I centered and put them on a graph.

The curve kind of adjusts to the logarithmic formula of exposure value. It seems then that the different shades of grey come from multiple units of time exposure (e.g. 0,2sec, 0,4sec, 0,6sec, etc.).

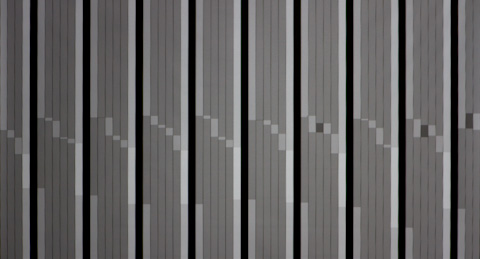
Another interesting detail, sometimes the glitches are not clean cuts of rectangles but have some tooth, as shown in the picture:

The following are a few examples of some pictures created with this technique.

Colored rectangles with overexposed and underexposed bits. Probably none of the two colors that differ in luminance are the color that was projected since it depends on the time exposure.

Vertical and and horizontal rectangles projected sequentially:

Circles with huge radius with a random component that make them overlap creating overexposed areas (in yellow):

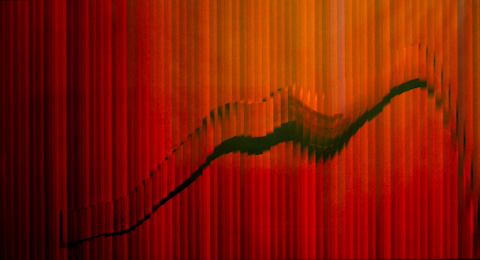
Stripes with color variation, following the projected sequence with a white surface to paint create relief:

Combination of different patterns triggered manually, projected at high framerates, adding a certain degree of randomness to specific variables:

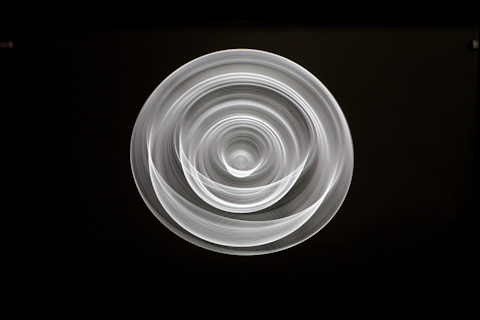
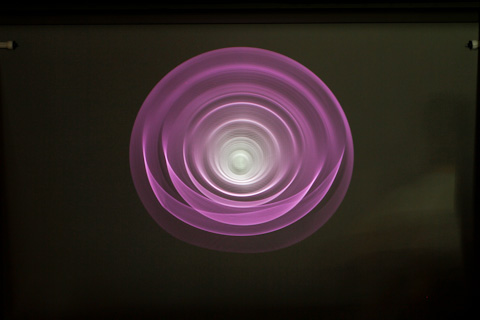
Same principle as the rectangles from the top of the post, in concentric circles:

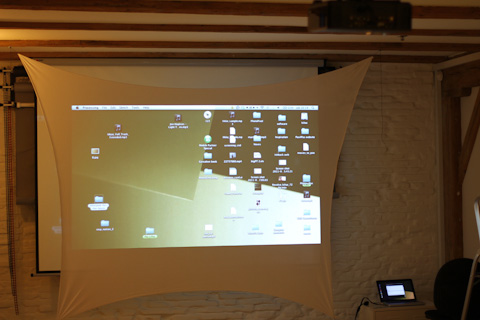
To conclude this post, a screenshot I took while designing Generative Photography’s website. Talking about digital glitches:

More pictures in the website of the project: www.generativephotography.com

Generative photography

February 20th, 2011 by ishback

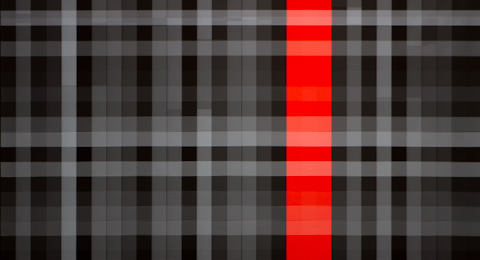
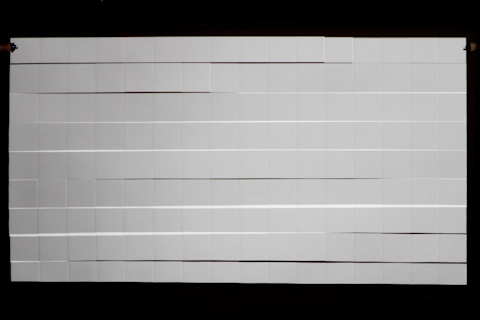
The picture above has been generated projecting white vertical rectangles, from left to right, at 25fps, to a projection screen. A camera, set to long exposure, captured the projection in 5 seconds. The rectangles aren’t homogeneous due to the rendering and the asynchrony between the frame rate of the video signal and the refresh rate of the projector.

The light grey rectangles have been in projected (and thus, exposed) double time than the dark grey ones. The brightest stripe has probably been projected three times the dark grey ones, and there is a rectangle that hasn’t been projected.

I’ve been doing some experiments using Processing to generate different patterns and sequences, a projector, and a camera pointing to the projection screen. Some of them are using a technique called procedural light painting, some other combining slit-scan with projected patterns. I’m also very interested in the low repeatability of some of these experiments, like the picture above, due to the noise introduced by the asynchrony of generation, communication and output means. Maybe we can call it Generative Photography.

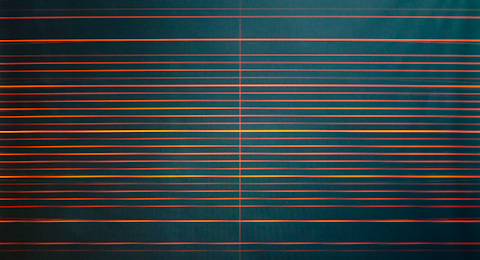
The following pictures are generated projecting a vertical lines, one after the other, and then the same with horizontal lines (25 fps). Lines have 3-pixel stroke, and move 4 pixels each time, creating a double exposure every two lines. Plus the error introduced by the asynchrony.

At 18 fps:

Projecting vertical rectangles instead of lines:

The following pictures are generated projecting white squares sequentially, from left to right and top to bottom. The effect of tiled wall is due to a small movement of the projection screen – the edges od the squares don’t match perfectly, creating overexposed areas (the white ones) and non-exposed areas (the black ones):

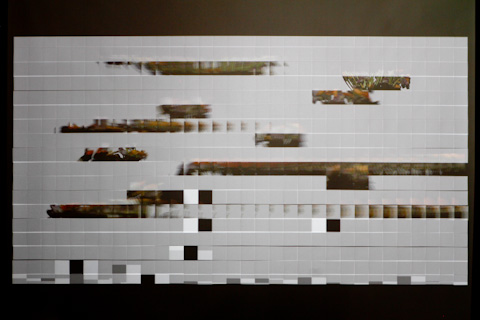
At 32 fps lots of squares are missed because the asynchrony:

It’s interesting to play with two technologies that have a specific rate of refresh and communication (sketch and projector), creating this asynchrony, but being able to capture the whole result using the long exposure of the camera. Most of the times there are unpredictable results, even after seeing the projection on the screen. There are squares that are generated but not projected. There are squares that are projected but the naked eye doesn’t see.

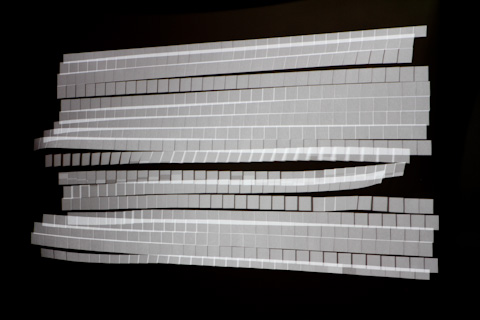
Adding some perspective to capture more volume:

Using color squares:

Squares with stroke, no fill:

Vertical and horizontal lines, sequentially:

The following pictures are 1 second exposure – 0,5 seconds projecting white concentric circles and 0,5 seconds projecting the complementary image, so overall the whole surface is covered with light. In the first one I’m moving after the first projected image, so the second set of concentric circles don’t catch me in the same position – it feels like I’m behind them.

In the next experiment I’m projecting one circle each frame (at 25 fps), increasing the radius in 1px each frame. Different objects are placed on the line of light.

Changing the position of the projection screen the projected circles overlap and over-expose some areas, or leave some areas without exposure, creating an amazing effect. I used a 3-pixel stroke weight line – if the movement of the canvas is fast, it gets a bit blurry since areas are exposed 3 times in different positions. I did this because using 1-pixel line it wasn’t enough light to have the desired contrast. Next photos are 20 to 30 sec exposure.

The detail of the pattern is quite interesting, created by the pixelated source of light from the projector.

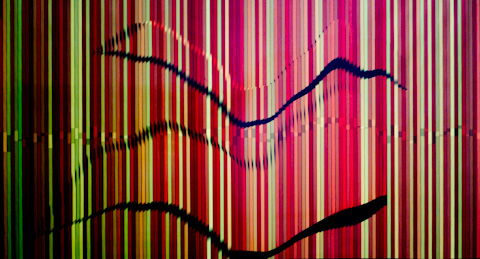
I used also a piece of lycra as projection screen to be able to move the canvas in a more flexible way.
Then it’s easier to pull or push the fabric, or move one of the corners. It’s also interesting to pull and release, capturing the waving of the fabric returning to its stable position.

I took made many other tests with this configuration, all of them resulted to be quite beautiful:

I’ll continue experimenting with this kind of photography. I’m interested in introducing feedback to the projection, so it reacts on what the camera is capturing, in real time.
For more pictures and information about the exposure times, aperture, etc. you can check my Flickr.

Imprints and memories

December 20th, 2010 by ishback

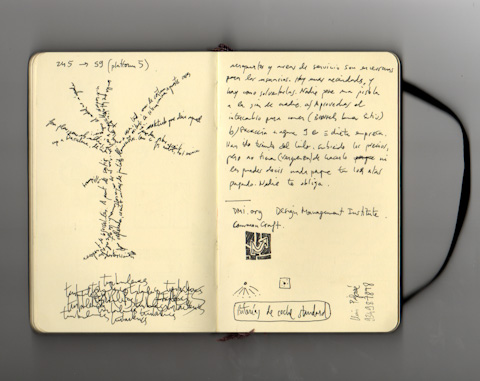
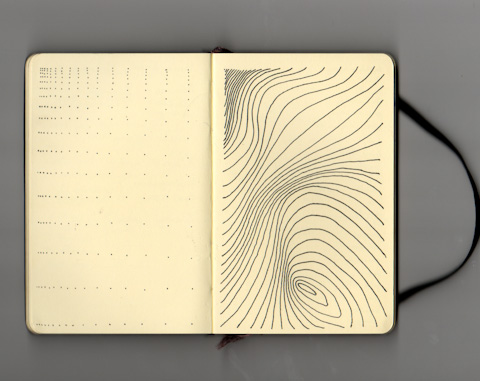
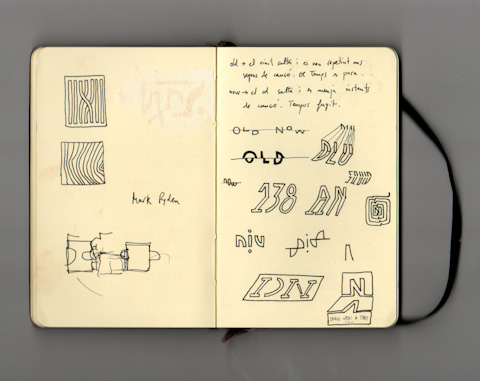
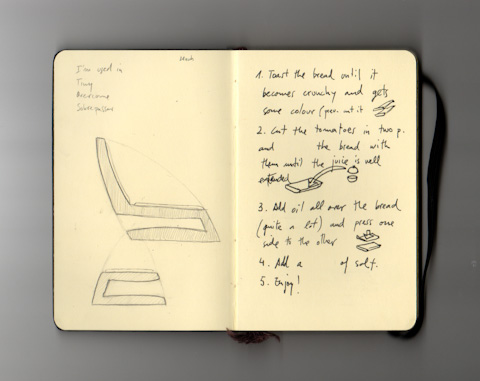
Some scans from my old notebook, 2010-07.

Playing with a flat screen from the trash

August 3rd, 2010 by ishback

Trying to find a flat screen for my final project, I found one on the trash that seemed ok. It has the VGA connector crashed but I used the DV and I realised that it has also a crack on the display. As it was useless (for normal purposes) I cracked it a bit more, pushing the liquid crystal move along the cracks with a screwdriver.

Pressing around the cracks random lines of pixels appeared, and also some parts of the screen changed brightness suddenly. Quite amazing!